How to Paint a Motorcycle Helmet Like A Pro!

Many young riders don’t wear helmets because they don’t think they look fantastic. This is a very stupid choice since the way a helmet look has nothing to do with how well it protects.
If you don’t wear a sturdy helmet when you ride your bike, you put your life at risk and risk your safety every time you ride your two-wheeler.
But I have good news for the smart people who want to ride their motorcycles safely by wearing helmets. If your helmet is old and you want to repaint it, this guide is what you need.
In this guide, I’ll teach you the basics of painting a motorcycle helmet; I’ll tell you everything you need to do to give your helmet a new look that goes with your bike and your dashing personality.
What materials you’ll need
- Masking tape.
- Scotch-Brite abrasive pad.
- Knife.
- Latex gloves.
- Airbrush or spray gun.
- 400-grit sandpaper.
- Reference pictures and stencils (if you are making a pattern).
- Matte spray paint.
- Clear coat.
- Primer and a flat black quick coat.
Helmets Print Caveats:
- When you buy paints, be very careful. Some may have chemicals that are bad for the base material of the helmet. Go to a well-known store because the workers there know a lot about paint and can advise you on how to paint a motorcycle helmet.
- Do the painting in a clean area because the paint is likely to get on things near your workplace. So, work somewhere that isn’t being used. Dusty surfaces are also unsuitable because the dust will stick to the wet paint and make the job look bad.
Read More: 8 Best Anti-Fog Spray for Motorcycle Helmets.
10 Simple Steps to Paint a Motorcycle Helmet
1. Get all the Tools and Supplies
To paint a helmet, you will need tools and things you can throw away. The following is a list of these things:
Easy to understand Disposables: Latex or rubber gloves; mineral spirits for cleaning and sealing. Newspaper Masking Tape – 3/4″ or 1″ Rags – For masking tape
Cutting Tools:
- Hacksaws.
- Zip ties.
- Drills.
- Screwdrivers.
- Punches.
- Paint brushes.
- Foam roller trays.
- Squeegee brushes.
- Sponges.
- Sandpaper.
- Coarse and fine Scotch-Brite pads.
- Putty knives.
- Face shield pliers.
- Masking paper (Optional).
2. Helmet Disassembly
You do not instantly begin painting the helmet as it is. You must first disassemble the helmet’s removable components. These include the screws, the lens, and the chin strap.
Remove the interlining carefully, and then set aside all the pieces (apart from the painting area to prevent paint from dripping onto them).
If you cannot remove the inner lining from the helmet altogether, you must mask it before painting.
3. The Preparation of Helmets
Use a basic cleaning detergent to remove grease from the helmet’s surface. Wear latex gloves to prevent smudging the painted surface with your fingerprints.
Verify that the helmet has not sustained any damage. As long as the helmet’s base is intact, the helmet can be repainted repeatedly.
Remove any stickers that may be on the helmet. They can be peeled off. Using a hair dryer or heat gun to apply heat to the stickers will make them simpler to remove if they are difficult to remove.
To remove the old paint and sticker glue from the helmet, wipe it with 400-grit sandpaper. If you paint over the previous paint, the helmet will have a terrible appearance. It would be best if you ran the sandpaper with the grain, not against it, for optimal results.
Use sandpaper or a Scotch-Brite abrasive pad with a 400-grit grade to remove any shiny paint surface. If this step is skipped, the new paint will not adhere.
4. The Helmet Masking
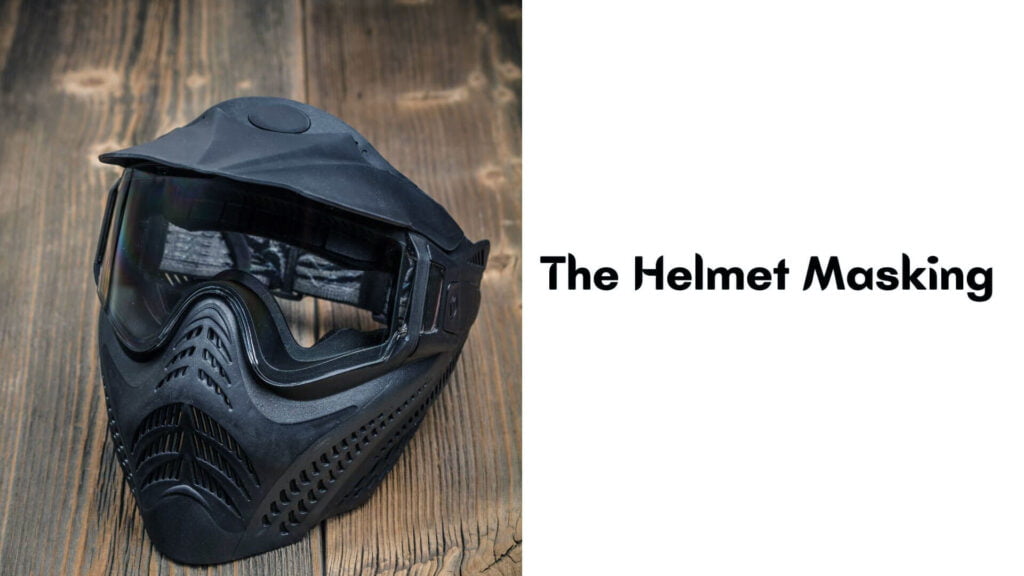
As indicated, masking becomes essential if you cannot remove the helmet’s inside lining.
Using masking tape, you may prevent paint from contacting areas that should not be painted. Essentially, old newspapers are rolled into a ball and stuffed into the helmet. Utilize the masking tape to secure the newspaper-stuffed ball, so it does not slip off.
5. Applying Primer Undercoat
Applying an undercoat to the surface is now the actual labor. After applying an undercoat to the helmet’s shell, take a break and refrain from proceeding until the undercoat has dried entirely.
- While the undercoat is still wet, you should not apply your design.
- Ensure that at least two to three layers of primer are applied.
- Do not spray beyond the masking tape, as the paper can absorb the paint and cause the base to become discolored.
- Allow your work to dry overnight (the helmet and the primer).
6. Include a Guide Coat
Use a spray can of flat black fast coat to lightly spritz the helmet’s exterior, then let it dry.
Soak 400-grit wet-and-dry sandpaper and a block in warm, soapy water once the guide coat has dried.
Using the block, sand the helmet smoothly with great care.
If some sections of the black guide coat remain black, it is not yet smooth. Continue sanding until the entire guide coat, not the primer, disappears.
After completing the sanding, thoroughly clean the helmet. Apply wax and grease remover on a piece of cloth that will be used to clear dust from the helmet.
7. It’s Time to Painting
- The helmet must be wiped down to remove any dust particles.
- Mix paints if using a professional spray gun. Shake an aerosol spray can before using it.
- Start spraying away from the painted area and then approach it at a steady distance and speed. To prevent runs, ensure you continue in the middle. Stop spraying as soon as you leave the area to be painted, and only resume when you return. Repeat this process from left to right until the entire helmet is covered with an even layer.
- Ensure you have sufficient paint for at least three or four applications.
- Allow the initial coat to dry, and then apply additional coats until the finish is satisfactory.
- In this article, we assume you are painting the helmet with a single color. There are other processes to follow when painting with multiple hues.
8. Applying Clearcoat
Clear coating provides protection and eliminates the need for buffing.
Applying the clear coat is comparable to using the base color.
To increase the paint’s depth, apply many layers of clear coat and allow them to dry for approximately 24 hours.
Afterward, polish the helmet with sandpaper of grade 1500 to provide a beautiful surface.
9. Taking Off the Helmet
Remove the protective tape.
Pass a clean, dry cloth beneath the surface of the covering tape. This is to guarantee that all debris is removed.
Carefully remove the masking tape and papers to avoid removing the fresh paint.
10. Rebuilding the Helmet
After the helmet has wholly dried, replace the removed components. In case of difficulty, consult the owner’s manual included with the helmet.
Tightens all screws to prevent them from falling off while riding.
Read More: How Do You Take Care Of a Motorcycle Helmet?
FAQs About How to Paint a Motorcycle Helmet
What are the steps in painting a motorcycle helmet?
There are three steps:
1) Clean the helmet’s outside.
2) Spread a thin layer of the base coat on the wall.
3) Apply the top coat in a thin layer.
Can I use aerosol paint?
No, aerosol paint will not work with our stencils.
What type of paint should I use?
Oil.
What are the advantages of oil paint?
Oil paint is very versatile but takes a long time to dry.
What are the merits and cons of acrylic paint?
Acrylic paint dries quickly but doesn’t have as much pigment as oil paint.
How do I clean the helmet after I have finished painting it?
After painting the helmet, you should use a dry cloth to wipe any excess paint. You can also use a wet cloth and then dry it off with a clean, dry cloth.
You should avoid using water because it will cause the paint to run and make it harder for you to clean up.
What kind of paint should I use for a glossy finish?
For a glossy finish, use an oil-based varnish.
How much time does it take to paint a motorcycle helmet?
It can take about three hours to paint a motorcycle helmet.
What colors of paint should be used to paint a motorcycle helmet?
Black, silver, and gold
Where can people buy the materials needed to paint a motorcycle helmet?
The materials needed to paint a motorcycle helmet can be purchased online or at a local art store.
Where should people start painting their motorcycle helmets?
We recommend starting with the back of the helmet. It’s essential to use high-quality paint that is designed for helmets.
Last Word
Now you have a step-by-step plan for painting a motorcycle helmet.
Follow this article the next time you want to paint a helmet. If you get confused, you can also watch YouTube videos of people who have already done it. Depending on the helmet, the steps may differ, but the overall method is always the same as described in this detailed guide.
So, paint your helmet and have fun!

Hey, I’m Hrithik Hossain. I am the head of helmethacks.com, which specializes in safety helmets. I am looking to connect with anyone interested in purchasing a helmet or who has any questions about different types of helmets. I have over 8 years of experience as a helmet expert, and I can’t wait to help you find the perfect helmet for you. I can help you with any questions regarding helmets, from the best brands to fitting, style, and more! I really enjoy keeping people safe by ensuring they have the best protection possible.

