How to Mount a GoPro to a Mountain Bike Helmet?
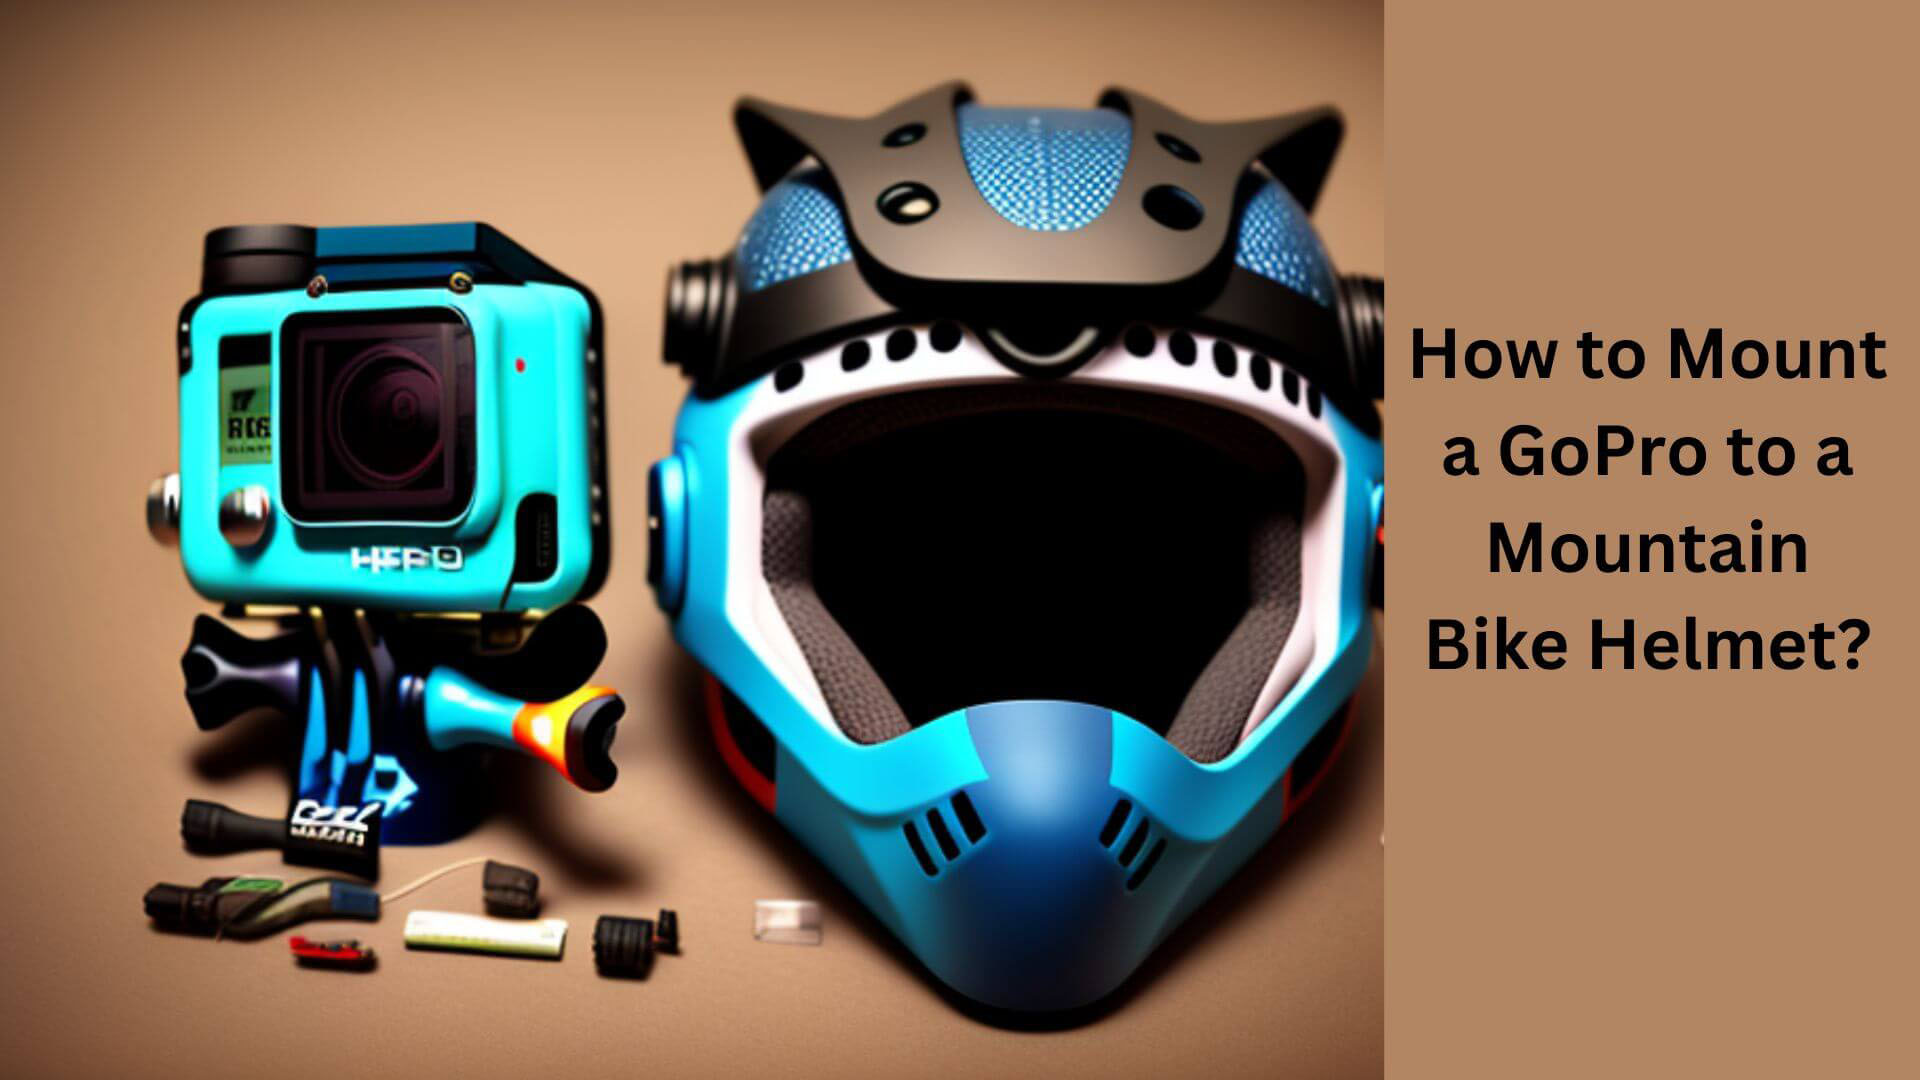
If you are a fan of mountain biking, then you know that it is not just about the thrill of riding down the mountain but also capturing the moment. One of the best ways to catch your ride is by using a GoPro camera mounted on your helmet.
Not only does it provide a unique perspective of your ride, but it also allows you to relive and share your experiences with others.
In this article, I’ll guide you through the steps to mount a GoPro to a mountain bike helmet so that you can capture all of your exciting moments on the trails.
Get ready to take your mountain biking adventures to the next level with this simple, easy-to-follow guide.
What is a GoPro?
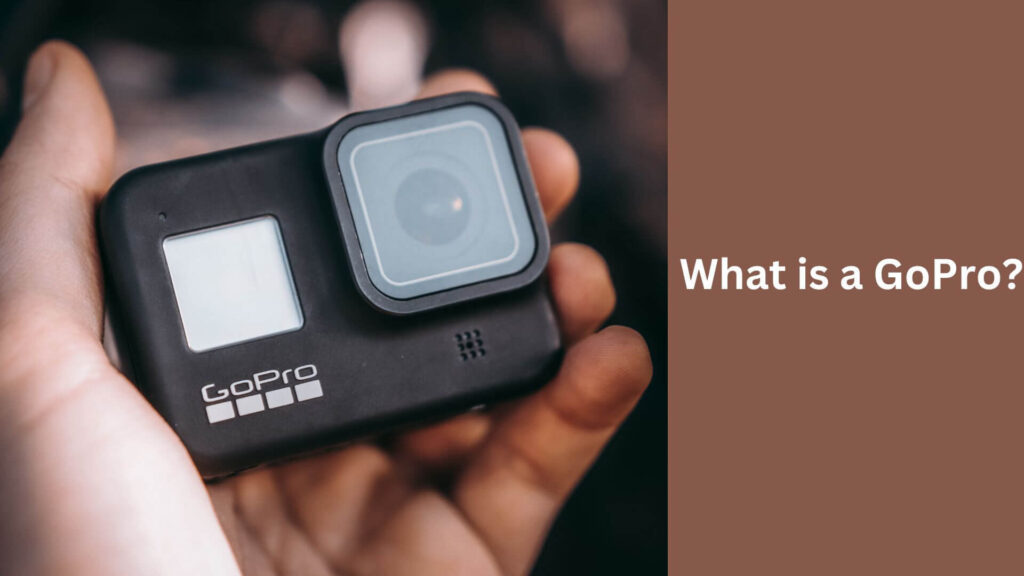
A GoPro is an action camera that captures high-quality video and photos in extreme situations. It is an easy-to-use device capable of capturing videos and pictures in challenging environments.
Why Mount a GoPro to a Mountain Bike Helmet?
Mounting a GoPro to a mountain bike helmet is a popular way to capture first-person video footage of your ride.
It allows you to relive and share your experience with others, whether for personal enjoyment or to showcase your skills and adventures on social media.
A mounted GoPro also provides a unique perspective of your ride, capturing the trail ahead and your reactions to obstacles and challenges.
Additionally, it frees up your hands so you can focus on your ride without worrying about holding a camera.
Read More: Conquer the Dark: Find Your Perfect Mountain Bike Helmet Light
What Type of GoPro Mount is Best For a Mountain Bike Helmet?
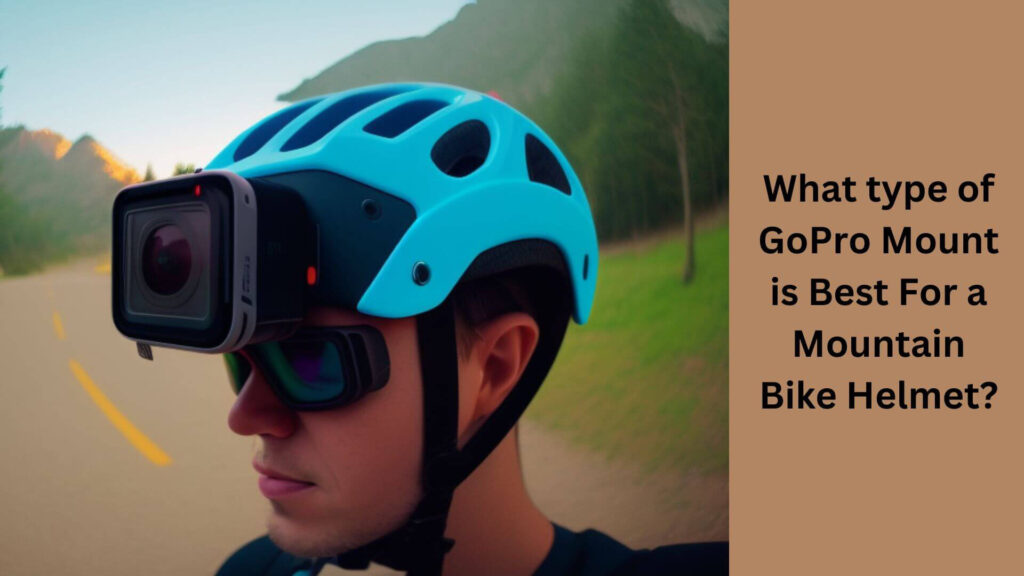
When mounting a GoPro on a mountain bike helmet, a few options exist.
The most popular mounts for a helmet include the adhesive mount, the strap mount, and the clamp mount.
- Adhesive mount: This mount uses a strong adhesive to attach the camera directly to the helmet. It is a popular choice for its easy installation and low profile.
However, it is essential to ensure the adhesive is strong enough to hold the camera securely, especially when riding over rough terrain.
- Strap mount: This mount uses a strap to attach the camera to the helmet. It is a versatile option to adjust to fit different helmet sizes and shapes.
However, it may be less secure than an adhesive or clamp mount and can cause the camera to bounce around if not properly tightened.
- Clamp mount: This mount uses a clamp to attach the camera to the helmet. It is a sturdy option that provides a secure hold and allows for easy camera angle adjustment. However, it can be bulky and interfere with the helmet’s fit and comfort.
Ultimately, the best mount type for a mountain bike helmet will depend on personal preference, the riding you plan, and the helmet’s design.
It’s essential to choose a mount that is secure, easy to use, and won’t interfere with your ride.
Read More: Why Do Mountain Bike Helmets Have Visors?
What Tools and Equipment Are Needed to Mount a GoPro to a Mountain Bike Helmet?
Mounting a GoPro to a mountain bike helmet requires essential tools and equipment. Here are the items you will need:
- GoPro camera: You will need a camera to mount to your helmet. Ensure it is fully charged and has enough memory to record your ride.
- GoPro mount: Depending on the type of mount you choose, you will need the appropriate mount for your GoPro camera. Some mounts come with the camera, while others are sold separately.
- Cleaning solution: Before attaching the mount to your helmet, cleaning the surface area thoroughly is essential to ensure the adhesive will stick. Use a cleaning solution that won’t damage the helmet or the bond.
- Microfiber cloth: A microfiber cloth is a gentle way to clean the helmet surface and remove any dirt, dust, or debris that may interfere with the adhesive.
- Scissors: If you use a strap mount, you may need to trim the strap to fit your helmet correctly.
- Allen wrench: If you are using a clamp mount, you may need an Allen wrench to tighten the clamp securely.
- Optional accessories: Depending on your preferences, consider additional accessories, such as a rope or safety leash, to prevent the camera from falling off in the event of a crash.
With these tools and equipment ready, you can ensure a smooth and successful installation of your GoPro camera to your mountain bike helmet.
Step-by-step Guide to Mounting a GoPro to a Mountain Bike Helmet
Step 1: Choose the Right Mounting Location
You must choose the correct location before you mount your GoPro to your helmet. A good site should provide a clear view of the action without interfering with your helmet’s safety features.
The top of the helmet is the most common location for mounting a GoPro. This is because it provides a wide-angle view and does not interfere with the helmet’s ventilation.
Step 2: Prepare the Surface
Once you have identified the location to mount your GoPro, the next step is to prepare the surface.
The surface must be clean and dry to ensure the adhesive sticks properly. Use a microfiber cloth to clean the surface and remove dirt or debris.
Step 3: Apply the Mounting Adhesive
After cleaning the surface, it is time to apply the mounting adhesive. The adhesive is a double-sided tape that comes with the GoPro mount.
Peel off the protective backing from the adhesive and place it on the surface where you want to mount the GoPro. Press firmly on the bond to ensure it sticks properly.
Step 4: Attach the GoPro Camera
Once the adhesive is in place, it is time to attach the GoPro camera. Place the camera onto the mount and press it firmly until it clicks into place.
Ensure the camera is securely attached to the mount before moving on to the next step.
Step 5: Check the Stability of the Mount
After attaching the camera, it is essential to check the mount’s stability. Tug on the camera to ensure it is firmly attached to the helmet. If the camera moves or feels loose, you must reattach it.
Step 6: Adjust the Camera Angle
Now that the camera is securely attached to the helmet, you can adjust the camera angle. The camera should be positioned to be level and point straight ahead.
Adjust the angle to suit your preferences and ensure it provides a clear view of the action.
Step 7: Test the Camera
Before you hit the trail, it is essential to test the camera to ensure it works properly. Turn on the camera and make sure that it is recording. Check the angle of the camera and adjust it if necessary.
Read More: Can You Use a Motocross Helmet for Mountain Biking?
Tips for Shooting Great Footage
Here are some tips to help you shoot great footage with your GoPro camera:
- Use a high frame rate to capture smoothly.
- Use a stabilizer to reduce the camera shake.
- Experiment with different camera angles and positions
- Use waterproof housing if riding in wet or muddy conditions.
- Use a remote control or voice command to start and stop recording.
- Use a large memory card to ensure enough storage for your footage.
- Edit your footage to create a dynamic and exciting video
How to Adjust the Angle and Position of the GoPro on the Helmet For the Best Footage?
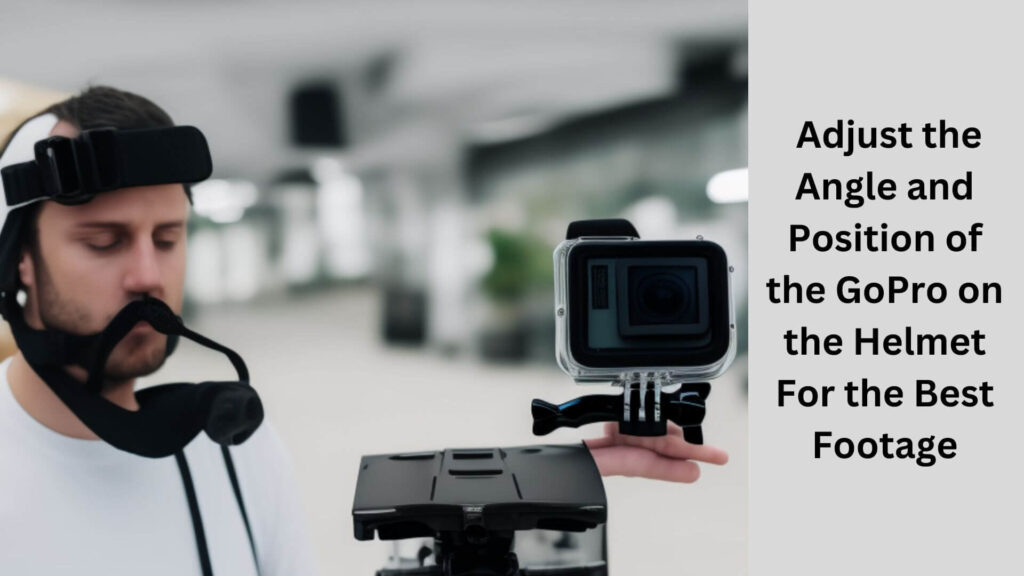
Adjusting the angle and position of the GoPro on your mountain bike helmet is essential to ensure you capture the best footage possible. Here are some tips for adjusting the camera:
1. Use a test ride: Before hitting the trails, take a short test ride to adjust the camera angle and position. This will allow you to make any necessary adjustments before your main ride.
2. Experiment with different angles: Try different angles to find the best one. Point the camera straight ahead for a realistic view of the ride, or angle it slightly downward for a more dramatic perspective.
3. Use a level: Keeping the camera level is essential to prevent the footage from being tilted or off-balance. Use a trim level to ensure the camera is perfectly level.
4. Avoid obstructing the view: Make sure the camera is positioned in a way that doesn’t obstruct your opinion of the trail or interfere with your helmet’s fit and comfort.
5. Consider the lighting: Be mindful of the lighting conditions on the trail and adjust the camera angle accordingly. For example, if the sun is directly in front of you, tilting the camera slightly upward can help prevent glare.
6. Use image stabilization: If your GoPro has image stabilization, turn it on to help smooth out any bumps or shakes in the footage.
By experimenting with different angles and positions and keeping these tips in mind, you can capture incredible footage of your mountain biking adventures with your GoPro mounted on your helmet.
How to Remove the GoPro Mount
When you are ready to remove the GoPro mount from your helmet, follow these steps:
- Gently pull the camera off the mount.
- Use a hairdryer to heat the adhesive for a few seconds.
- Use a credit card or plastic scraper to gently remove the mount from the helmet.
- Clean the surface with a microfiber cloth to remove any adhesive residue
Common Mistakes to Avoid
Here are some common mistakes to avoid when mounting your GoPro to your helmet:
- Mounting the camera in a location that interferes with the helmet’s safety features
- Using too much or too little adhesive
- Not checking the stability of the mount before riding.
- Not adjusting the camera angle properly.
- Forgetting to start or stop recording
Safety Considerations When Mounting a GoPro to a Mountain Bike Helmet
When mounting a GoPro to your mountain bike helmet, it’s essential to consider safety to ensure your ride is fun and safe. Here are some safety considerations to keep in mind:
1. Don’t obstruct your vision: Make sure the camera mount is clear from obstructing your vision of the trail or other riders. This will help you avoid accidents and stay safe on the trails.
2. Use a secure mount: Choose a mount designed for your helmet that ensures a snug fit. A loose or wobbly mount can be dangerous and cause the camera to fall off during your ride.
3. Check the mount regularly: Before each ride, check the mount to ensure it is still securely attached to the helmet. If it feels loose or wobbly, reapply the mount or replace it with a new one.
4. Use a rope or safety leash: Consider using a rope or safety leash to prevent the camera from falling off in the event of a crash.
5. Be mindful of the weight: A mounted camera can add extra weight to your helmet, affecting your balance and how your helmet fits. Be aware of the added weight and adjust your riding accordingly.
6. Consider the weather conditions: If you’re riding in wet or muddy conditions, ensure the camera mount is waterproof and won’t be affected by the states.
Considering these safety considerations, you can enjoy your mountain biking adventures while ensuring your ride is safe and free from accidents.
FAQs About How to Mount a GoPro to a Mountain Bike Helmet
Can I mount a GoPro to any helmet?
It depends on the helmet and the type of mount. Some helmets may have a curved or uneven surface, making it difficult to mount a GoPro. Check the compatibility of your helmet and the type of mount you want to use before attempting to mount the camera.
Can I use a chest mount instead of a helmet mount?
Yes, you can use a chest mount to mount your GoPro instead of a helmet mount. A chest mount provides a different perspective and can be helpful in certain situations.
What is the best camera angle for mountain biking?
The best camera angle depends on your personal preference and the type of footage you want to capture. Experiment with different angles and positions to find what works best for you.
Can I mount my GoPro to a full-face helmet?
Yes, you can mount your GoPro to a full-face helmet. Follow the same steps outlined in this guide to ensure a secure and stable mount.
How do I clean my GoPro mount?
Use a microfiber cloth to clean your GoPro mount. Avoid using abrasive materials or cleaners that may damage the adhesive or the mountain’s surface.
Last Word
Mounting a GoPro to your mountain bike helmet is a great way to capture all the action and create amazing videos.
Following the steps outlined in this guide, you can securely mount your GoPro and start recording your rides. Remember to check the mount’s stability and adjust the camera angle before hitting the trail.
With some practice and experimentation, you can create stunning footage capturing the thrill and excitement of mountain biking.

Hey, I’m Hrithik Hossain. I am the head of helmethacks.com, which specializes in safety helmets. I am looking to connect with anyone interested in purchasing a helmet or who has any questions about different types of helmets. I have over 8 years of experience as a helmet expert, and I can’t wait to help you find the perfect helmet for you. I can help you with any questions regarding helmets, from the best brands to fitting, style, and more! I really enjoy keeping people safe by ensuring they have the best protection possible.

