How to Add Lights to a Welding Helmet? A DIY Guide to Adding Lights

Are you tired of welding in dimly lit spaces or struggling to see your work through the darkening lens of your welding helmet?
Fear not, as adding lights to your welding helmet is a simple and effective solution to this problem. With just a few tools and some basic knowledge, you can easily illuminate your workspace and improve your welding precision.
To add lights to a welding helmet, you can purchase a welding helmet with built-in lights or add lights yourself. If you add lights yourself, you can attach adhesive-backed LED lights to the inside of the helmet or install a battery-powered LED light strip. Ensure the lights do not obstruct your vision or interfere with welding.
In this article, I will guide you through adding lights to your welding helmet, from choosing the right lights and power source to installing and adjusting the lights for optimal visibility.
Whether you are a professional welder or a DIY enthusiast, this guide will help you shed some light on your welding projects.
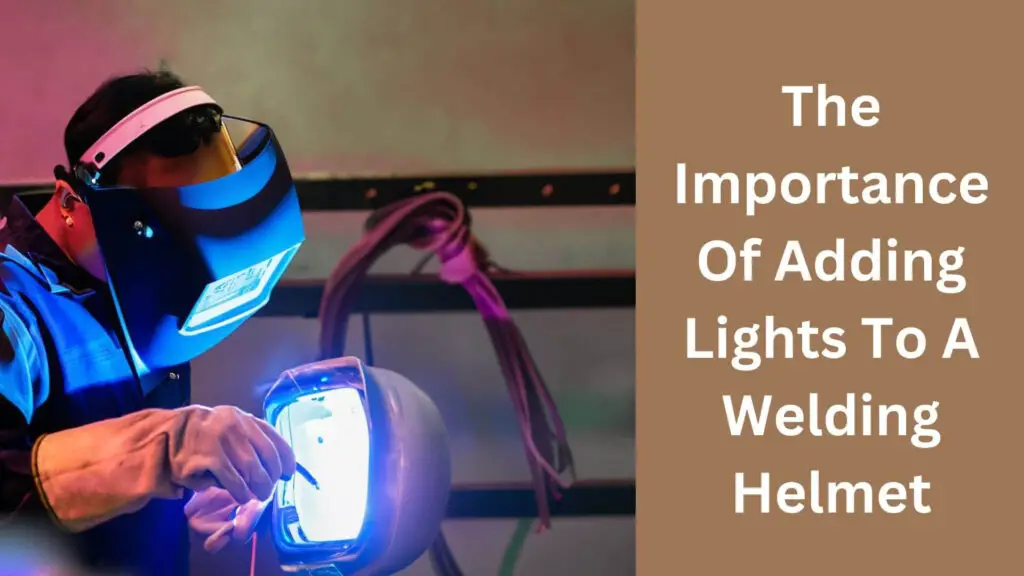
The Importance Of Adding Lights To A Welding Helmet

Welding is a demanding profession that requires adequate protection to ensure the welder’s safety. One such protection is a welding helmet.
However, not all welding helmets are created equal, and some welding tasks may require additional features such as lights.
Here is why adding lights to a welding helmet is essential:
1. Benefits Of Adding Lights
Having lights on a welding helmet presents several benefits that justify their inclusion. These benefits include:
- Better visibility: With lights on a helmet, a welder can see what they are working on even in low-light environments. This feature is significant as welding work may often happen in areas needing more proper illumination.
- Enhanced precision: When working on intricate welding jobs, having lights on the helmet allows the welder to see every detail of their work. This level of precision is essential when working with small-sized parts or delicate workpieces.
- Increased productivity: With enhanced visibility and accuracy, welders can work faster and more efficiently without stopping to reposition workpieces or recheck their work due to errors caused by poor visibility.
2. Safety Concerns
Welding helmets provide essential protection to welders. However, some welding tasks require additional lighting due to their level of complexity and the risk factors involved. Here are some safety concerns to consider:
- Eye strain: Welding can cause fatigue and strain when proper lighting is unavailable. Eye strain can cause temporary headaches, discomfort, and vision problems, decreasing productivity.
- Accidents: Working with a welding tool can be dangerous if workpieces or terrain cannot be seen correctly due to lighting restrictions. This problem can lead to accidents that might injure the welder.
Adding lights to a welding helmet is an excellent way to improve productivity, precision, and safety. Welding is essential; adding additional features like lights on welding helmets can improve the welding experience.
3. Better Precision
Good lighting lets you see your work more clearly, making it easier to create precise welds and achieve better results.
4. Enhanced Productivity
With better visibility and reduced eye strain, you can work more efficiently and productively, completing your welding projects more quickly and with better results.
Adding lights to a welding helmet is an essential investment for welders who want to improve their visibility, accuracy, safety, and productivity.
Read More: How to Adjust Welding Helmet?
Choosing The Right Type Of Light
1. Led Vs. Incandescent
The two most common options when choosing lights to add to your welding helmet are led and incandescent. Here are some key points to consider when deciding between them:
- Led lights are more energy-efficient than incandescent lights, meaning they will last longer and require fewer battery replacements.
- Led lights produce less heat than incandescent lights, which can be beneficial when working in hot environments.
- Incandescent lights are cheaper than led lights but may only last briefly or provide as much brightness.
2. Battery Life
One crucial factor to remember when adding lights to your welding helmet is battery life. Here are some key considerations:
- Look for lights with long battery life to avoid frequent replacements.
- Consider the type of batteries that the lights use. Rechargeable batteries can save money in the long run but may not last as long as traditional batteries.
- Turn off the lights when they are not in use to conserve battery life.
3. Brightness Level
The brightness level of your helmet lights is essential to ensure you can see your work. Here are some things to keep in mind:
- Look for lights that provide adequate brightness without being too harsh or blinding.
- Consider whether the lights have adjustable brightness levels. This can be useful for adjusting the lighting to different work environments.
- Be careful not to choose too bright lights, which can cause eye strain or damage over time.
4. Cost
Cost is always an important consideration when choosing equipment for your welding projects. Here are some points to keep in mind:
- Led lights are more expensive than incandescent ones but are a better long-term investment due to their long battery life and energy efficiency.
- Some high-end helmet lights can be expensive, so consider your budget and whether the extra features are necessary.
- Don’t skimp on quality to save money – cheap lights may not be durable or long-lasting, which can cost you more in the long run.
Read More: How to Change Lens in Welding Helmet?
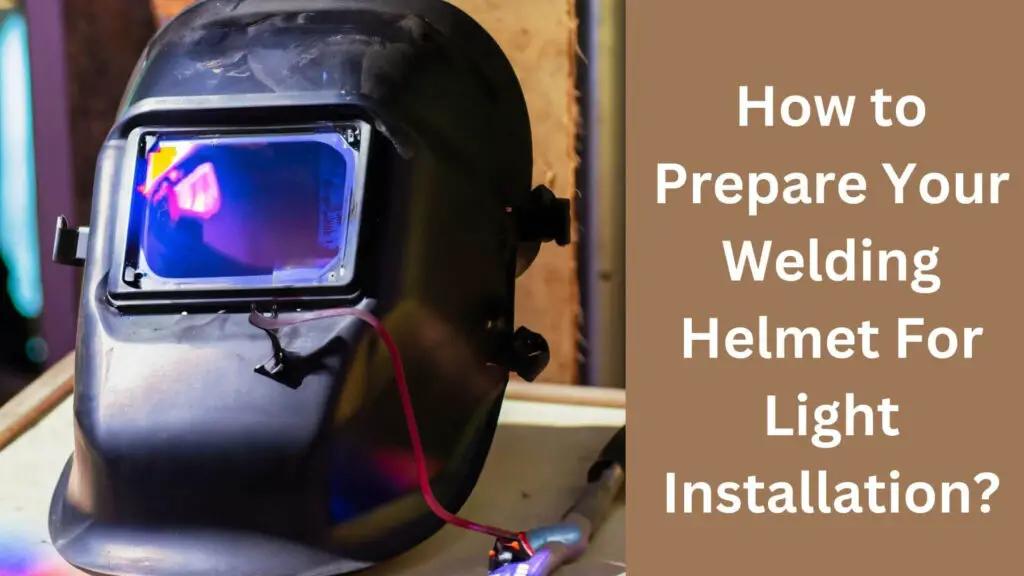
How to Prepare Your Welding Helmet For Light Installation?

Preparing your welding helmet for light installation is crucial for better visibility and safety during welding. Here’s how to do it.
1. Safety Precautions
Before you start adding lights to your welding helmet, it is crucial to take proper safety precautions to avoid any mishap. Here are some key points to keep in mind:
- Before starting any welding project, wear personal protective equipment, including gloves and safety glasses.
- Remove any metal objects from your pockets before welding to avoid the risk of electrical shock.
- Ensure your work area is well-ventilated to prevent inhalation of harmful fumes and gases.
- Take frequent breaks and stay hydrated to avoid overheating or dehydration.
- Turn off your welding machine when not in use and unplug it to prevent any accidental electrical discharge.
2. Tools Required
To successfully add lights to your welding helmet, you will need the following tools:
- Led lights
- A drill or rotary tool
- Wire strippers
- Soldering iron
- Solder
- Heat shrink tubing
- Electrical wire
- Screwdriver
3. Helmet Modification
Modifying your welding helmet for light installation requires precision and caution. Here’s what you need to do:
- Disassemble the helmet’s outer shell to access the inner lining.
- Use a marker to outline the shape and position of the led lights inside the helmet.
- Use a drill or rotary tool to create holes in the helmet lining for the led lights to fit through.
- Install the led lights into the helmet’s lining using screws.
- Use wire strippers to strip the insulation from the ends of the electrical wires.
- Solder the wires to the led lights, correctly connecting the positive and negative ends.
- Cover the soldered joints with heat shrink tubing and use a heat gun to seal it properly.
- Connect the wires to a battery pack and switch, which can be installed on the side of the helmet.
- Reassemble the outer shell of the helmet.
Adding lights to a welding helmet can be a valuable and exciting upgrade, but it’s essential to take proper safety precautions and follow the correct procedures to avoid accidents.
With the right tools and patience, you can easily modify your welding helmet to include lights that will improve visibility and make welding safer and more comfortable.
Read More: How to Install Cheater Lens in Welding Helmet?
Installing The Light Onto Your Welding Helmet
If you have been welding without a helmet light, you are missing out on a vital tool that makes your work easier and more efficient.
A welding helmet light lets you see what you are working on more clearly and accurately, especially in dimly lit conditions.
Not only does it help you to achieve better results, but it also prevents eye fatigue caused by straining to see in low-light conditions. Let’s dig into how to install a welding helmet light.
1. Placement Of The Light
Before attaching the light to your helmet, you need to determine its ideal position. Here are some factors to consider:
- The light should not obstruct your view or interfere with your work, so place it on the sides of the helmet instead of the front or back.
- Ensure you can quickly turn the light on and off without removing the helmet.
- Consider the weight of the light, as you don’t want to add unnecessary weight to your helmet.
2. Wiring And Circuit Setup
Once you have identified the placement of the light, it’s time to wire and set up the circuit. Here are some guidelines to follow:
- Determine the power source for your light. It could either be battery-operated or connected to a power source.
- Strip the wires and connect them to the power source.
- Test the circuit before placing the light on the helmet to ensure it’s working.
3. Adjusting The Light Angle
After setting up the circuit and wiring the light, you must attach it to the helmet and adjust the angle for optimal use. Here are some tips to help you:
- Set the light at an angle that illuminates your workspace but doesn’t reflect off your welding helmet.
- Ensure the light is secure and doesn’t move when working.
With the light securely in place, you’re now ready to work with greater clarity and precision. With these simple steps, you can easily add light to your welding helmet and improve your welding efficiency and accuracy.
Read More: How to Lighten a Welding Helmet?
Testing And Troubleshooting The Light
Testing and troubleshooting the light is essential to ensure its proper functionality and avoid potential issues. Let’s explore how to do it.
1. Ensuring Proper Functionality
Before you start using your newly added welding helmet light, it’s essential to ensure it functions properly. Follow these steps to ensure that your light is in good working order:
- Check the batteries: Ensure your light’s batteries are fully charged or new. Low or dead batteries can cause your light to malfunction, flicker or go out entirely.
- Inspect the wiring: Check your wiring for any frayed or damaged sections. This can cause a short circuit or improper light function.
- Securely attach the light: Ensure that the light is securely attached to your welding helmet. If loose, it can easily fall off or jiggle out of place, causing it to misbehave.
- Test the light in a dark area: Take your welding helmet into a dark room or closet and turn it on. Check if the light is coming on and off appropriately and if it’s sufficient for your needs.
- Adjust the light’s angle: Adjust the angle of your light source to ensure that it is in the best possible position for the work you’ll be doing.
2. Common Issues And How To Fix Them
Even if you do everything right, your welding helmet light can still run into some problems. Here are some common issues and how to fix them:
- Inconsistent brightness: If your light’s brightness fluctuates, try cleaning the contact points of the batteries and the wiring. It would help if you also inspected the wiring for any damage that might cause a short circuit.
- Flickering or blinking: The wiring or the light may have a loose connection. Check to make sure everything is adequately secured and connected.
- Short-lived battery life: Be sure to turn off your light when not in use to conserve battery life. If the battery dies frequently, it may be time to replace it.
- Light not turning on: Check the batteries to ensure they work correctly and the wiring isn’t damaged. Make sure the light isn’t loose and that the switch is on.
- Broken light bulb: If you tap or bump your helmet too hard, your light bulb may break. It’s best to replace the bulb immediately to avoid any further damage.
With these helpful troubleshooting tips, you can successfully use, test, and diagnose issues with your welding helmet light.
Remember that adequately maintaining and taking care of your light will extend its lifespan and improve its performance in the long run.
Read More: Welding Precision: Say Goodbye to Grind Mode on Helmets
Frequently Asked Questions For How To Add Lights To A Welding Helmet
How Do I Add Lights To My Welding Helmet?
You’ll need to purchase a kit with led lights, a battery pack, and a switch to add lights. Then, connect the lights to the switch and secure them to your helmet.
What Are The Benefits Of Adding Lights To My Welding Helmet?
Adding lights can improve visibility and accuracy while welding, reduce eye strain and fatigue, and provide a safer working environment.
Can I Use Any Lights For My Welding Helmet?
Led lights are essential, as they’re more energy-efficient, long-lasting, and emit less heat than traditional lighting options.
How Do I Power The Lights On My Welding Helmet?
Most kits come with a battery pack that can be attached to your helmet. It’s essential to ensure the battery pack is securely fastened and won’t be a safety hazard.
Can I Add Lights To Any Welding Helmet?
While most welding helmets can accommodate lights, ensuring the kit you purchase is compatible with your specific helmet is essential.
Final Remarks
Adding lights to your welding helmet can significantly improve your welding experience by ensuring better visibility and focus on your work.
With the above steps and precautions, you can easily add lights to your welding helmet without compromising safety or comfort.
Just by following the steps correctly, you can maximize your productivity and continuously improve your welding skills.
Whether you’re a professional welder or a beginner, these simple steps can make a massive difference in the quality of your work.
You must use the right equipment and take all necessary safety precautions to ensure you’re well-protected and that your welding helmet lights function as they should. Don’t hesitate to try it and see how lights can improve your welding work today!

Hey, I’m Hrithik Hossain. I am the head of helmethacks.com, which specializes in safety helmets. I am looking to connect with anyone interested in purchasing a helmet or who has any questions about different types of helmets. I have over 8 years of experience as a helmet expert, and I can’t wait to help you find the perfect helmet for you. I can help you with any questions regarding helmets, from the best brands to fitting, style, and more! I really enjoy keeping people safe by ensuring they have the best protection possible.


