How to Clean Welding Helmet? Clear Vision, Safe Welds
Are you a welder struggling to maintain a clean welding helmet? Do you find removing the grime and dirt accumulating after every welding job challenging?
However, without proper cleaning, it can become a breeding ground for bacteria and fungus, leading to skin infections and respiratory illnesses.
Remove debris or dust with a soft brush or cloth to clean a welding helmet. Next, wipe the lens with a lens cleaner or a mixture of water and mild soap. Use a soft cloth to dry the lens and helmet. Finally, replace any worn or damaged parts as needed.
In this blog post, I will provide a step-by-step guide on how to clean your welding helmet and keep it in tip-top condition.
Whether you are a professional welder or a DIY enthusiast, this guide will teach you the best practices to ensure your welding helmet stays clean and safe. So, let’s dive in and learn how to clean your welding helmet like a pro!
Cleaning Supplies
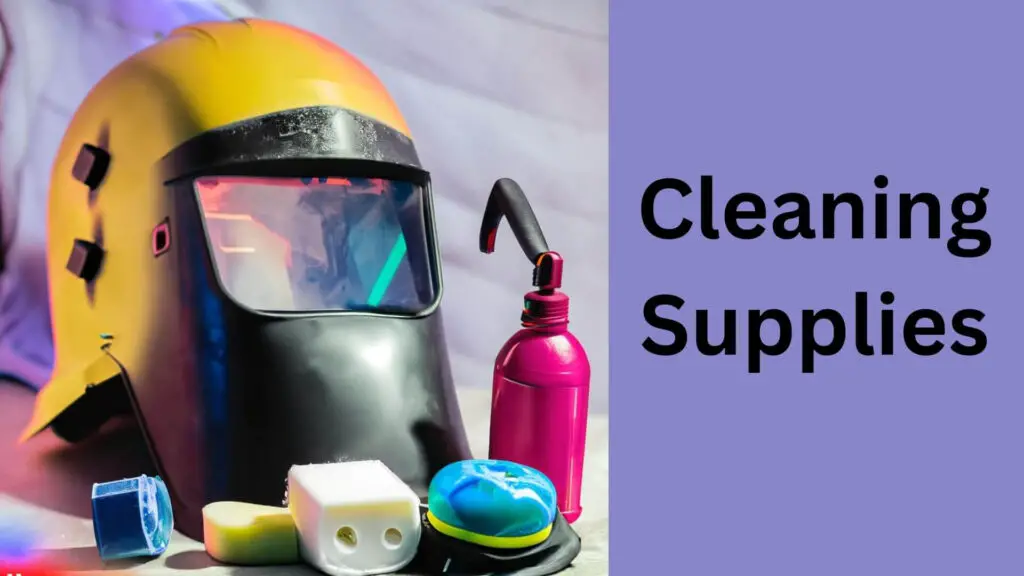
1. Necessary Cleaning Tools And Materials To Have On Hand
When cleaning your welding helmet, it’s essential to have the right tools and materials at your disposal. Here are some of the essential cleaning tools and materials you’ll need:
- Microfiber cloth: This soft and gentle cloth is perfect for wiping away dirt, debris, and smudges on the surface of your welding helmet without leaving any scratches.
- Soft-bristled brush: To remove tough dirt and debris in hard-to-reach areas, use a soft-bristled brush designed explicitly for cleaning welding helmets.
- Compressed air can: Use a compressed air can to blow out any dirt or debris that might be stuck in the crevices of your helmet, such as the air vents.
- Water: You’ll need water to dampen your microfiber cloth or soft-bristled brush. Use lukewarm water to avoid damaging any electronic components on the helmet.
- Mild detergent: If your helmet is particularly dirty or greasy, you can use mild detergent to help break down the dirt and grime.
2. Recommended Cleaning Solutions And Agents
While water and a microfiber cloth are enough to clean most welding helmets, you may need extra help. Here are some recommended cleaning solutions and agents that can help you keep your welding helmet clean:
- Isopropyl alcohol: Use isopropyl alcohol to remove any stubborn stains, such as welding spatter, on the surface of your helmet. Use a small amount and avoid getting it on any electronic components.
- Glass cleaner: If your welding helmet has a glass lens, you can use a glass cleaner to help keep it clean. However, avoid using glass cleaner on any plastic components, as it can cause damage.
- Lens cleaning wipes: If you don’t want to clean your glass lens, pick up some wipes. These are pre-moistened and perfect for on-the-go cleaning.
- Penetrating oil: If you’re dealing with stubborn rust, penetrating oil can help loosen it up so you can clean it off more easily.
3. Where To Purchase Welding Helmet Cleaning Supplies From
You can purchase welding helmet cleaning supplies from a variety of places, including:
- Welding supply stores: Head to your local welding supply store for a wide selection of welding helmet cleaning supplies, including microfiber cloths, soft-bristled brushes, and more.
- Online retailers: Amazon, eBay, and others often carry reasonably priced welding helmet cleaning supplies. Just be sure to read reviews before purchasing to ensure quality.
- Big-box retailers: Home improvement stores like Lowe’s and home depot often carry cleaning supplies for welding helmets, too.
Keeping your welding helmet clean may not seem like a high priority, but it can help extend your helmet’s life and ensure that you’re always working with clear vision. Cleaning your welding helmet can be quick and painless with the right tools and materials.
Read More: Defeat the Fog: Expert Tips to Keep Your Welding Helmet Clear!
Pre-Cleaning Preparation
1. Safety Measures To Take Before Cleaning A Welding Helmet
Welding helmets are essential equipment that protects your eyes, face, and neck from sparks, heat, fumes, and other hazardous substances. However, before cleaning your welding helmet, you must take some safety precautions to avoid accidents. Here are some safety measures you should follow:
- Always wear protective gloves when handling welding helmet parts to avoid cuts and scrapes.
- Ensure the helmet’s power is off and the batteries are removed.
- If the helmet has been recently used, allow it to cool down before cleaning.
- Work in a well-ventilated area to prevent inhalation of dust and fumes.
2. How To Disassemble And Detach The Helmet Lens & Other Parts Before Cleaning?
Cleaning a welding helmet is necessary to maintain its durability and longevity. Before cleaning the helmet, you must remove the lens and other detachable components. Here’s how to safely disassemble and detach your helmet parts:
- Remove the helmet’s headgear by unscrewing the knobs on the sides of the helmet.
- Detach the filter lens by loosening the retaining screws on the sides or top of the helmet.
- Remove the cover lens from the filter lens by sliding it out of the track.
- Take out the filter lens by sliding it out of the helmet’s brackets on the top and bottom of the lens.
- If your helmet has a flip-up lens, open the ear flaps and remove the screws on the side of the helmet.
- Remove the flip-up lens by sliding it out of the helmet’s brackets on the top and bottom of the lens.
- Clean the lens and other parts thoroughly using a soft cloth or brush.
Read More: How to See Through Welding Helmet?
Detailed Step-By-Step Guide On How To Safely And Effectively Disassemble And Detach Your Helmet Parts
Disassembling and detaching your helmet parts properly is important to avoid damaging any of the parts. To ensure that your helmet remains in good condition, follow these step-by-step instructions:
- Put on your protective gloves to avoid injuries while handling the parts.
- Turn off the helmet’s power button and remove the batteries.
- Unscrew the knobs on the sides of the helmet to detach the headgear.
- Locate the retaining screws on the sides or top of the helmet and unscrew them to loosen the filter lens.
- Slide off the cover lens from the filter lens by gently sliding it out of the track.
- Slowly slide out the filter lens from the brackets on the top and bottom of the lens.
- If your helmet has a flip-up lens, open the ear flaps and remove the screws on the side of the helmet.
- Slide out the flip-up lens from the brackets on the top and bottom of the lens.
- Clean each part thoroughly with a soft cloth or brush.
- Reassemble your helmet by following the instructions in reverse order.
Following these easy steps, you can safely and effectively disassemble and detach your welding helmet’s parts for cleaning. Always take the necessary safety precautions and work in a well-ventilated area to avoid accidents.
Read More: Paint a Welding Helmet Like a Pro!
Cleaning Process
Step-By-Step Guide On How To Clean Your Welding Helmet’S Lens, Body, And Headgear
Keeping your welding helmet clean and in good condition is essential for your safety and comfort. Follow these easy steps to clean your welding helmet:
Step-1: Cleaning The Lens
- Start by removing any large debris or dust particles with a soft-bristled brush.
- Next, use a microfiber cloth or lens cleaning wipes to clean the lens gently.
- For stubborn streaks or stains, use a small amount of lens cleaning solution or rubbing alcohol on the cloth.
- Avoid using abrasive materials such as paper towels or harsh cleaning chemicals to avoid scratches.
Step-2: Cleaning The Body
- Use a soft-bristled brush to remove any debris or dust from the body of the welding helmet.
- Fill a bucket with warm water and add a small amount of mild dish soap.
- Dip a sponge or cloth into the solution and use it to clean the body of the welding helmet.
- Rinse with clean water and let dry completely before using again.
Read More: See Clearly, Work Safely: Welding Helmet Lens Change Made Easy
Step-3: Cleaning The Headgear
- Remove the headgear from the welding helmet and wipe it down with a damp cloth.
- Fill a bucket with warm water and add mild dish soap for a deeper clean.
- Dip the headgear into the solution and let it soak for a few minutes.
- Rinse with clean water and let dry completely before reattaching it to the welding helmet.
Step-4: How Often To Clean Your Welding Helmet And Recommended Maintenance Schedule
To keep your welding helmet in top condition, it’s essential to clean it regularly. Here are some guidelines for cleaning and maintaining your welding helmet:
- Clean your welding helmet after every use to prevent the build-up of debris, dust, and sweat.
- Check the lens regularly for scratches or cracks, and replace it as needed.
- Inspect the headgear and body for signs of wear or damage, and replace them as needed.
- Store your welding helmet in a dry, calm, and clean place when not in use.
- If you notice any damage or issues with your welding helmet, stop using it immediately and have it checked by a professional.
Read More: Step-by-Step: Making a Unique Welding Helmet to Match Your Welds
Step-5: Alternative And Eco-Friendly Cleaning Solutions And Techniques
If you prefer to use eco-friendly cleaning solutions or techniques to clean your welding helmet, here are some options:
- Instead of using a commercial lens cleaning solution, use equal parts water and white vinegar.
- Use baking soda and water solution to clean the body of the welding helmet.
- Use a cloth dipped in hot water to clean the headgear instead of soap.
- Consider using reusable microfiber cloths instead of disposable cleaning wipes to reduce waste.
Keeping your welding helmet clean and well-maintained is crucial for safety and comfort. By following these easy steps and using alternative cleaning solutions, you can extend the life of your welding helmet and help protect the environment.
Read More: How to Store Welding Helmet Safely and Securely?
What Are The Pros And Cons Of A Clean Welding Helmet?
| Pros | Cons |
| 1. Enhanced Visibility: A clean welding helmet provides clear vision, enabling precise welding and reducing the risk of errors. | 1. Time-consuming: Cleaning a welding helmet can be time-consuming, especially if it has intricate components or hard-to-reach areas. |
| 2. Improved Safety: Removing debris and contaminants from the helmet prevents obstruction and ensures optimal protection against sparks, fumes, and radiation. | 2. Potential Damage: Mishandling or improper cleaning methods may damage the helmet’s sensitive components, such as the lens or electronic features. |
| 3. Prolonged Lifespan: Regular cleaning prevents corrosion, rust, and deterioration, extending the overall lifespan of the welding helmet. | 3. Cost of Maintenance: Depending on the cleaning agents and tools used, additional costs might be associated with maintaining a clean welding helmet. |
| 4. Comfortable Work Environment: A clean helmet eliminates dirt and sweat buildup, promoting a more comfortable welding experience. | 4. Lack of Awareness: Some welders may underestimate the importance of helmet cleanliness, neglecting proper maintenance and compromising their safety. |
| 5. Professional Image: A clean welding helmet showcases professionalism and attention to detail, leaving a positive impression on clients and colleagues. | 5. Learning Curve: Proper cleaning techniques and suitable cleaning agents may require research or trial and error to find the most effective methods. |
Remember, regularly cleaning your welding helmet outweighs the cons by ensuring a clear vision, improved safety, and a longer lifespan for your trusted welding companion.
Read More: Optimal Welding Helmet Replacement Frequency
Inspection
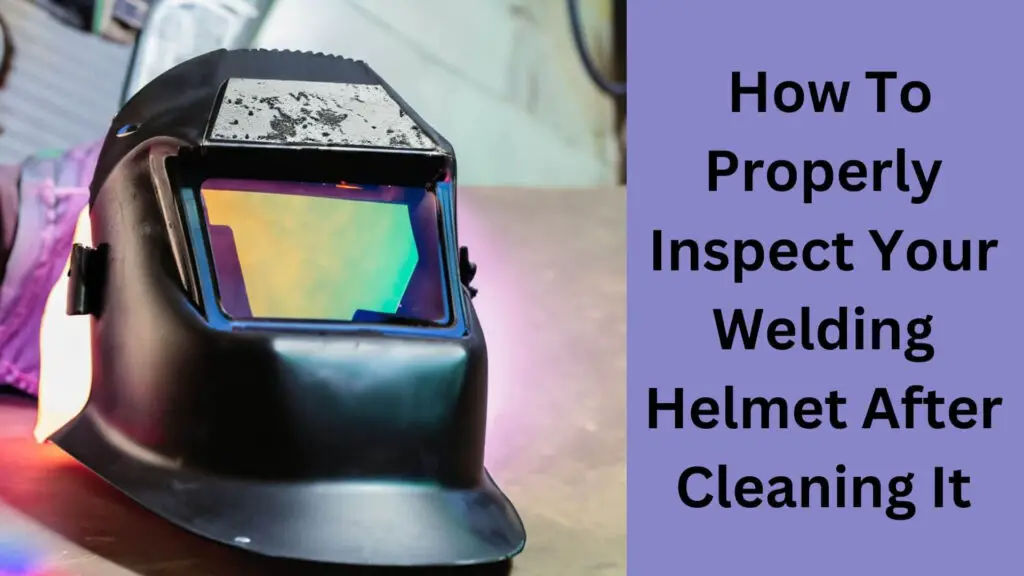
How To Properly Inspect Your Welding Helmet After Cleaning It
After cleaning your welding helmet, you must inspect it to ensure it is in good condition for your next welding job. Follow these tips for adequately inspecting your welding helmet:
- Start by checking the external shell of the helmet for any dents, cracks or other visible damage that can hinder the helmet’s effectiveness.
- Inspect the helmet’s lens for any scratches, cracks, or burns. If you notice even minor damage to the lens, it’s best to replace it to avoid eye damage.
- Make sure the lens cartridge is seated correctly in the helmet. A misaligned cartridge can reduce its effectiveness in protecting your eyes.
- Check the helmet’s headgear mechanism to verify that it is functioning appropriately. Ensure the headgear is not too tight or loose on your head.
Read More: Empower Your Welding Helmet: Mastering the Art of Proper Charging
Tips On What To Look Out For While Inspecting Your Welding Helmet Lens
Your welding helmet lens is your first defense against ultraviolet and infrared radiation. Regular lens inspections can help you spot any issues that can lead to more significant problems. Follow these tips to get the most out of lens inspection:
- Inspect the lens regularly to identify signs of wear and tear, such as scratches, burns, and cracks.
- Ensure that the lens is clean and not coated with any dust or debris that can reduce its efficiency.
- Use a light source to verify that the lens has not lost transparency and is not hindering your vision.
Read More: The Ultimate Guide to Assemble Your Welding Helmet Like a Pro
Common Signs That Indicate The Need For Replacement Of The Helmet Lens Or Other Parts
Proper maintenance of your welding helmet is essential for your safety on the job. If you notice any of the following signs on your helmet, its time to replace the damaged parts, including the helmet lens:
- Cracks or visible damage on the external shell of the helmet.
- Scratches, burns, or cracks on the helmet lens can compromise its effectiveness in protecting your vision.
- A misaligned cartridge reduces the effectiveness of the lens in protecting your eyes from UV and irradiation.
- If the headgear mechanism fails to work as required, ensure the helmet is secure on your head.
- Signs of wear and tear on the helmet liner, sweatbands, or padding.
Regular inspection of your welding helmet is essential to ensure it remains effective in protecting your vision and safety during welding tasks. Failure to properly inspect it can damage your eyes significantly and impair helmet functionality.
Following these tips, you can maintain your welding helmet in optimal condition for years.
Read More: How Long Should a Welding Helmet Last?
Frequently Asked Questions Of How To Clean Welding Helmet
How Often Should I Clean My Welding Helmet?
It is recommended to clean your welding helmet after every use to ensure clear visibility.
What Should I Use To Clean My Welding Helmet?
You can use a soft cloth or a microfiber towel to clean your welding helmet. Avoid using abrasive cleaners.
Can I Submerge My Welding Helmet In Water?
You should not submerge your welding helmet in water as it may damage the electrical components.
How Do I Clean The Inside Of My Welding Helmet?
You can use a damp cloth or a sponge to clean the inside of your welding helmet. Allow it to dry completely before use.
Is It Important To Properly Store My Welding Helmet After Cleaning?
Yes, storing your welding helmet in a dry, cool place after cleaning is important to prevent damage and ensure its longevity.
The Final Word
From the preceding, it is evident that cleaning your welding helmet is a crucial aspect of maintaining its functionality and longevity. A clean helmet enhances clear vision during welding, ensures proper ventilation, and prevents possible health hazards.
Every welder must understand the significance of a clean helmet and implement proper cleaning practices religiously.
Cleaning is not complicated and can be done with readily available products. The imperative thing is to ensure that you follow the recommended guidelines and use cleaning products that are safe and effective for your helmet.
Maintaining a clean welding helmet is an essential habit that every welder should cultivate to ensure improved safety, productivity, and a prolonged lifespan for the helmet.

Hey, I’m Hrithik Hossain. I am the head of helmethacks.com, which specializes in safety helmets. I am looking to connect with anyone interested in purchasing a helmet or who has any questions about different types of helmets. I have over 8 years of experience as a helmet expert, and I can’t wait to help you find the perfect helmet for you. I can help you with any questions regarding helmets, from the best brands to fitting, style, and more! I really enjoy keeping people safe by ensuring they have the best protection possible.

