How to Remove Welding Helmet Insert? Expert Tips and Tricks
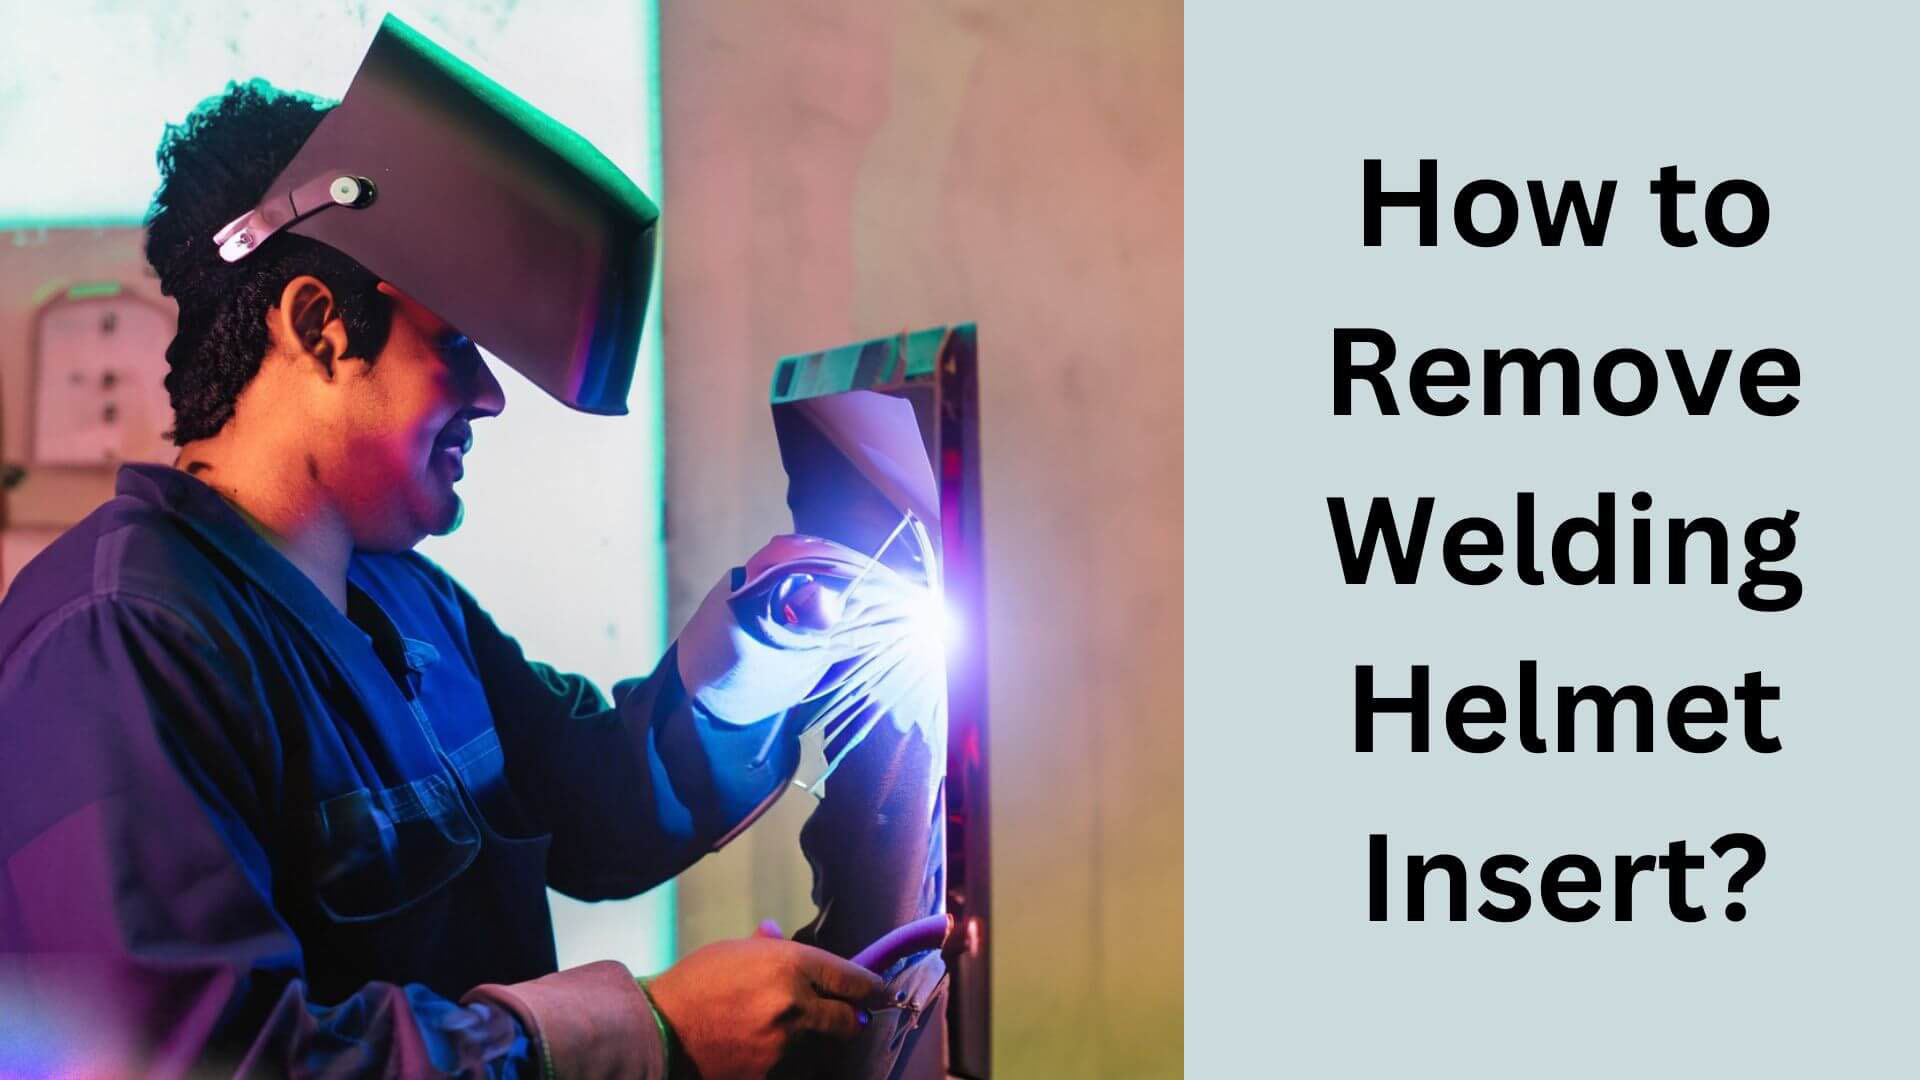
If you’re a welder, you know that your welding helmet is an essential piece of safety equipment. However, the helmet inserts can become worn, dirty, or damaged over time, making it difficult to see clearly while working. Luckily, replacing the insert is a quick and easy process that you can do yourself.
- First, remove the helmet’s cover plate by unscrewing it.
- Next, remove the old insert by gently prying it out of the helmet. Take care not to damage the helmet or the insert while doing so. Once you’ve removed the old insert, clean any dirt or debris from the helmet’s interior.
- Finally, insert the new helmet insert, making sure it’s properly aligned and securely in place. Replace the cover plate and tighten the screws.
Voila! Your welding helmet is now ready to use once again.
Tools Required For Removing Welding Helmet Insert
You will need tools to make removing a welding helmet insert easy and efficient. With the right tools, you will save time and avoid damaging the helmet or insert. Here is a list of tools you need to remove a welding helmet insert:
List Of Tools Needed
- Flathead screwdriver.
- Phillips screwdriver.
- Pliers.
- Safety glasses.
- Gloves.
Explanation Of Each Tool
Here are the functions of each of the tools needed to remove a welding helmet insert:
- Flathead screwdriver: This tool is used to unscrew flathead screws on the welding helmet frame. It is designed with a flat, narrow tip that fits into the slots of flathead screws, allowing you to turn them counterclockwise to remove them easily.
- Phillips screwdriver: Unlike the flathead, the Phillips screwdriver is designed with a cross-shaped tip that fits into the head of Phillips screws. It is used to remove screws on the helmet that have a cross-shaped head.
- Pliers: Pliers are versatile tools that come in various sizes and shapes. They can grip and hold materials, cut wires, and bend or straighten objects. In removing a welding helmet insert, pliers can hold tiny screws in place, allowing you to remove or install them easily.
- Safety glasses: are essential personal protective equipment (PPE) that protects your eyes from harmful debris and UV radiation. When removing a welding helmet insert, small debris, such as metal shavings, can fly into your eyes, causing irritation or damage. Wearing safety glasses can help protect your eyes from such hazards.
- Gloves: Gloves are another form of ppe that protect your hands from cuts and scrapes. When removing a welding helmet insert, sharp edges of screws can injure your hands. Wearing gloves can help protect your hands and provide a better grip when handling tools.
Ensure all these tools are ready before removing a welding helmet insert.
Step-By-Step Guide On How To Remove Welding Helmet Insert
Removing a welding helmet insert is a simple process that can be done quickly and easily. Here’s a step-by-step guide to help you out.
Step 1: Preparation
Before removing your welding helmet insert, take the following steps to guarantee an easy and productive process:
- Turn off your welding machine
- Let your helmet sit for a few minutes to cool down.
- Take off your gloves.
- Take off your jacket and grab a clean towel
Step 2: Removal Of Helmet Insert
Now that you’ve prepared, it’s time to remove your welding helmet insert. Follow these simple steps:
- Locate the tabs that hold the insert in place.
- Push the tabs inwards.
- Lift the helmet insert out, being careful not to drop it.
Step 3: Cleaning Of Helmet Insert
Cleaning your helmet insert is crucial to ensuring its longevity and that you can continue to get clear visibility. Here’s how to clean it properly:
- Wipe the outer part of the insert with a towel, removing any dirt, dust or debris.
- Use a cleaning solution and a cloth to clean the internal part of the insert.
- Avoid using abrasive cleaners or water, as they can cause damage to the auto-darkening filter.
Step 4: Replacing The Insert
You’re almost there. Follow these simple steps to replace the insert:
- Make sure that your cleaned helmet insert is completely dry.
- Hold the insert with both hands.
- Place the insert back in place, aligning the tabs with the grooves in the helmet.
- Push the tabs inwards until they click into place.
And you’re ready to resume welding with a clear view! Remember that cleaning and replacing your welding helmet insert should be done regularly to maintain its functionality and prolong its lifespan.
Read More: How to Assemble Welding Helmet?
Common Issues When Removing Welding Helmet Insert
Welding helmet inserts can become worn with use and require regular checks to ensure they remain in good condition. However, even with the best maintenance, there may be occasions when you encounter issues when attempting to remove the insert. Below, we will look at some common issues and how to resolve them.
Issues That May Arise During Helmet Insert Removal
1. The Insert Is Stuck
Sometimes, with extended use, helmets can develop a stubborn insert that refuses to budge. Here are some simple steps that you can follow:
- Begin by placing a flathead screwdriver in the small space between the helmet’s outer shell and the insert. Do not apply pressure or wiggle the screwdriver, which could damage fragile parts.
- Now, locate the four strips of double-sided tape holding the insert inside the helmet. Begin to tear the insert in a slow, steady motion to avoid damage.
- Once all the tape is loose, apply gentle pressure beneath the insert with a pry tool. Avoid placing the pry tool too deeply, which can damage the helmet.
- Use a hairdryer to warm the adhesive that holds the insert in place. Begin peeling once it’s warm.
2. The Insert does Won’T Come Out Cleanly
The insert may sometimes come out in pieces, leaving fragments stuck around the edges. Here’s how to fix that:
- Use scissors to trim away loose pieces of the still-visible insert.
- Take a cloth, dampen it with rubbing alcohol, and clean the inside of the helmet. Don’t use a lot of rubbing alcohol, as it can damage the helmet; a small amount should do the job.
- Use another cloth to clean the inside of the insert to remove built-up dirt.
Read More: Safely Power Down, Steps to Turn Off a Titanium Welding Helmet
3. The Insert Becomes Damaged During Removal:
Sometimes inserts can become damaged during removal, leaving behind unusable fragments and leaving you wondering how to replace them. Here’s what to do:
- Using a ruler and marker, measure the hole size that needs filling
- Find a suitable substitute for your insert by scanning your local hardware or welding supply store. Your helmet’s manufacturer can also provide options.
- Finally, cut the substitute material down to size using scissors or razors.
With these simple steps, you should be able to remove welding helmet inserts without encountering issues.
However, if you face any complications while carrying out the task, simply follow the steps outlined above to resolve the problem and keep your welding gear in tip-top condition.
Read More: How to Adjust Welding Helmet?
Bonus Tips And Tricks When Removing Welding Helmet Insert
Removing a welding helmet insert can be a daunting task for welders. However, removing it to clean, replace or repair it is crucial.
It can cause damage to the helmet if not done correctly. Here are the tips and tricks to make helmet insert removal much more accessible.
1. Tips To Make Helmet Insert Removal Easier
Here are some tips to simplify the process of removing a welding helmet:
- Start by removing the helmet lens, making it easier to access the helmet insert.
- Use a flathead screwdriver to pry the helmet insert from the sides gently. Wedge the screwdriver between the insert and the helmet and work around the edge.
- If the insert is hard to remove, gently apply heat to the edge using a heat gun or a hairdryer to soften the insert’s adhesive.
- Wear gloves while removing the insert to avoid skin contact with the chemicals on the helmet inserts, which may cause irritation or an allergic reaction.
2. Tricks To Prevent Damages To The Helmet
Here are some tricks to prevent damage to your welding helmet while removing the insert:
- Use only a flathead screwdriver to avoid scratching or damaging the helmet, as other tools may cause irreparable damage.
- Never use excessive force to remove the helmet insert, as it may cause the helmet to crack or deform.
- Be cautious while heating the edges of the helmet insert, as it can deform the helmet shell if the heat is excessive.
- To prevent adhesive residue from sticking to the helmet shell after removing the insert, remove the remnants of the adhesive using a cotton ball dipped in rubbing alcohol.
Following these tips and tricks, you can easily remove the welding helmet insert without damaging the helmet. It is essential to understand the correct technique to ensure that the helmet’s integrity is not compromised.
Read More: How to Change Lens in Welding Helmet?
Frequently Asked Questions For How To Remove Welding Helmet Insert
How Do You Remove A Welding Helmet Insert?
Locate and unclip the holding clip to remove a welding helmet insert. Then, gently pull the insert out.
Can You Replace A Welding Helmet Insert?
Yes, welding helmet inserts can be replaced if damaged or worn out. Purchase a replacement insert and follow the manufacturer’s instructions for installation.
How Often Should You Replace A Welding Helmet Insert?
Relying on welding helmet inserts at least once a year or when they become damaged or worn out is recommended.
What Is The Purpose Of A Welding Helmet Insert?
A welding helmet insert protects the delicate lens of a welding helmet from damage and extends its lifespan.
Can You Clean A Welding Helmet Insert?
Yes, welding helmet inserts can be cleaned with a soft, lint-free cloth and a mild, non-abrasive cleaner. Be sure to follow the manufacturer’s instructions for cleaning.
Final Thoughts
Taking off a welding helmet insert may seem daunting initially, but the process is much more straightforward than you think.
Whether you have a standard or auto-darkening welding helmet, removing and replacing the insert quickly and straightforwardly requires minimal effort and time.
Using the right tools and following the necessary steps, you can safely and efficiently remove the old insert and install a new one.
A clean and well-maintained welding helmet insert will help protect your eyes and face from damaging welding rays and debris.
So, always clean and replace your welding helmet insert regularly so you can continue to work without any interruptions or discomfort. You can perform this task effortlessly and confidently with the knowledge gained from this article.

Hey, I’m Hrithik Hossain. I am the head of helmethacks.com, which specializes in safety helmets. I am looking to connect with anyone interested in purchasing a helmet or who has any questions about different types of helmets. I have over 8 years of experience as a helmet expert, and I can’t wait to help you find the perfect helmet for you. I can help you with any questions regarding helmets, from the best brands to fitting, style, and more! I really enjoy keeping people safe by ensuring they have the best protection possible.

