How to Put Band in Welding Helmet? Mastering Helmet Comfort
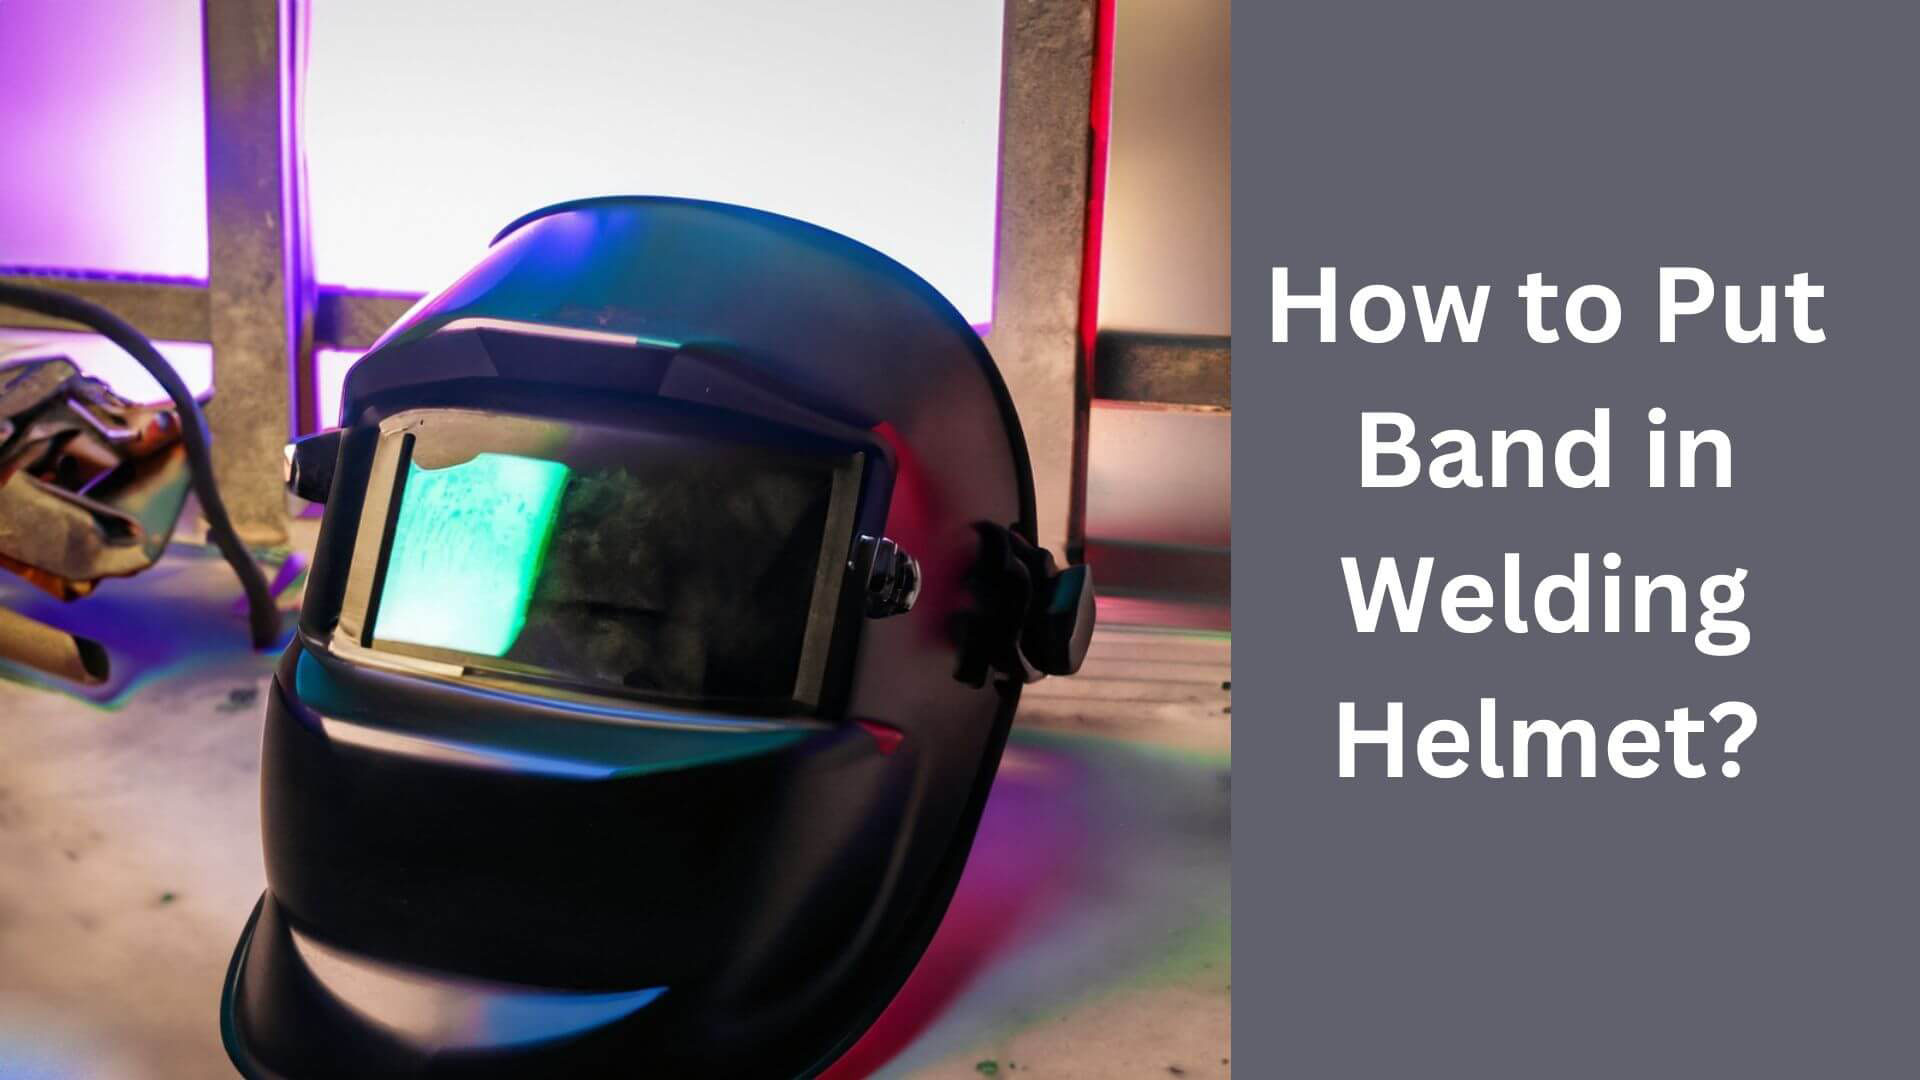
Putting a band in a welding helmet is a simple process involving attaching the band in the designated slots. This ensures the helmet stays in place while welding.
Welding helmets are essential safety gear for welders. They protect them from sparks, welding flash, and harmful ultraviolet and infrared rays.
However, a poorly fit welding helmet can compromise the welder’s safety causing discomfort and distraction and ultimately reducing the efficacy of the protective gear.
That’s where a helmet band comes in handy. The band helps guarantee the welding helmet’s fit and stability that fits the wearer’s head.
So, as a welder, it’s crucial to know how to put the band in your welding helmet correctly. This article provides a step-by-step guide on how to put the band in your welding helmet.
From choosing and fitting the band correctly to making the necessary adjustments.
Understanding Different Types Of Welding Helmets
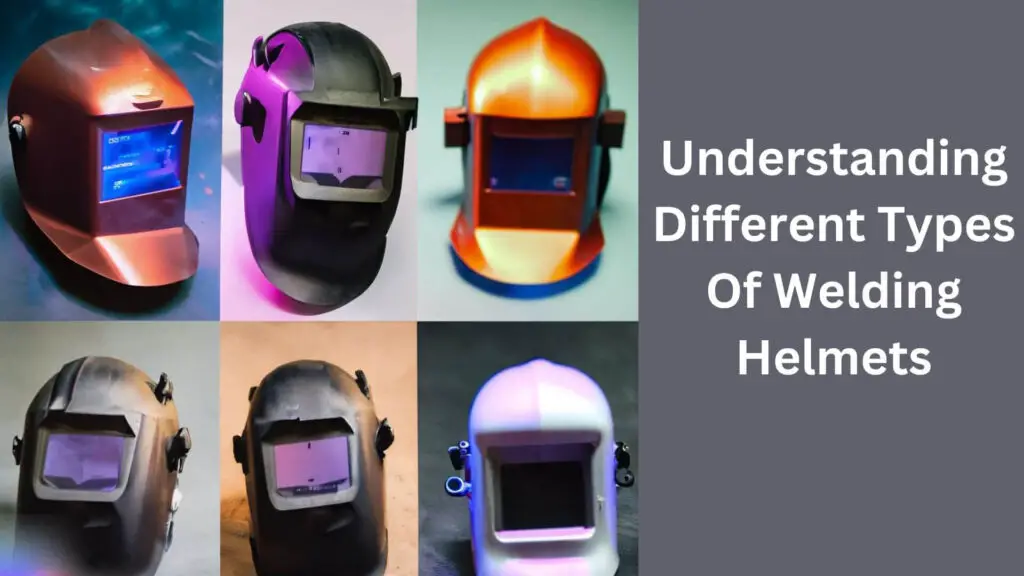
When it comes to welding helmets, different types are available in the market. It is essential to understand each type to choose the right one for you. Here are the common types of welding helmets:
- Passive lens welding helmets – these traditional welding helmets feature a fixed shade and require the welder to lift the mask before welding.
- Auto-darkening welding helmets contain an auto-darkening filter lens that adjusts to the welding arc, making them more efficient and easier to use than passive lenses.
- Fixed shade welding helmets come with a single, fixed lens shade suitable for welding tasks requiring the same amperage and material.
- Variable shade welding helmets are designed with adjustable shade levels, making them suitable for different welding tasks, including low amperage and bright environments.
Factors To Consider When Choosing A Welding Helmet
Choosing the fitting welding helmet is crucial for the safety and comfort of the welder. Here are some factors to consider when selecting a welding helmet:
- Optical clarity – this affects the quality of vision of the welder. The higher the clarity, the better precision during welding.
- Viewing area – choose a helmet with a large viewing area to enhance visibility, especially when working in confined spaces.
- Lens reaction time is when the lens detects the arc and auto-darkens. Consider a helmet with a quick reaction time to prevent eye strain.
- Weight and comfort – an ideal welding helmet should be lightweight and comfortable to avoid neck and head fatigue.
- Durability – choose a welding helmet made from high-quality, durable materials to resist wear and tear and ensure it lasts long.
Signs That Indicate Your Welding Helmet Needs A Replacement
A welding helmet is an essential safety gear that protects the welder from various hazards. However, it may wear out over time, and you may need to replace it. Here are some signs that indicate your welding helmet needs a replacement:
- Damaged or cracked lens – a damaged lens inhibits the clarity required for welding and can cause eye strain, resulting in poor-quality welds.
- Fading or discoloration – continuous exposure to UV radiation causes the helmet’s inner components to deteriorate, leading to fading and discoloration that may affect visibility.
- Loose or damaged headgear – an ill-fitting or damaged headgear can cause the helmet to move around during welding, leading to inaccurate welds.
- Outdated technology has advanced with welding helmets, and newer models tend to have more advanced features like better and fast auto-darkening and sensitivity adjustments. If your helmet needs to be updated, it may no longer provide optimal safety.
Understanding the different types of welding helmets available in the market, factors to consider when choosing a welding helmet, and knowing signs that indicate your welding helmet needs a replacement is essential for any welder. Always prioritize welding safety and choose the correct helmet to suit the task.
Read More: Mastering Welding Helmet: Deactivating Grind Mode Made Simple!
Step-By-Step Guide To Put Band In Welding Helmet
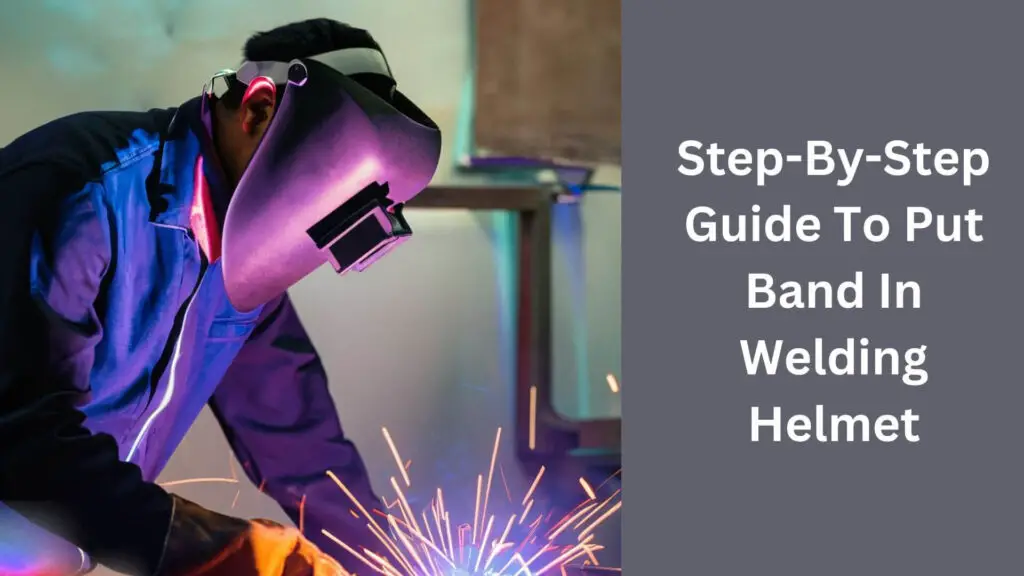
This step-by-step guide will show you how to put a band in your welding helmet for a secure and comfortable fit.
Step 1: Checking The Helmet Type And Read the Manufacturer’s Instructions
Before adjusting the band on your welding helmet, you must understand the type of helmet you’re working with.
Different helmets have different adjustment methods, so reading the manufacturer’s instructions is vital before taking on this task. Consider the following key points:
- Check the helmet type, whether it’s an auto-darkening or passive lens helmet.
- Read the manufacturer’s instructions carefully. They will provide information on the correct way to adjust your helmet band.
Step 2: Preparing The Helmet And The Band For Adjustment
Once you’ve familiarized yourself with the type of helmet you’re working with, it’s time to get it ready for adjustment. Here’s what you need to do:
- Clean your helmet thoroughly. A clean helmet will help you get accurate measurements and fit when adjusting your helmet band.
- Also, loosen the band retention knob to free the band from the helmet shell’s slot.
Step 3: Loosening The Tension In The Helmet Band
The next step is to loosen the band’s tension to make adjusting it more manageable. Follow the steps below:
- Hold your helmet firmly and place it on your work surface.
- Locate your helmet band’s retention knob, and with your fingers, loosen the knob to extend the band a bit.
- Next, pull out the band from the shell slot and remove all tension from the band.
- Once you have removed the tension, you can reinsert the band into the slot.
Step 4: Adjusting The Helmet Band To Fit Your Head Size
Now that you’ve loosened the band’s tension, you can adjust it to fit your head size. Here are a few valuable tips to help you do it the right way:
- Place the helmet on your head with the forehead’s front just above your eyebrows to get the correct fit.
- Tightening or loosening the retention knob will adjust the turning resistance of the band. So, turn this knob clockwise to increase the turning resistance and counterclockwise to decrease it.
- Once you attain your desired band fitting, recheck the helmet’s position to ensure it doesn’t touch your eyeglasses.
Step 5: Securing The Helmet Band In Place
The final step is to secure the helmet band to avoid the helmet shifting while using it. Here’s how to do it:
- Once you have the right band fitting, firmly secure it by turning the retention knob clockwise.
- Be careful not to overtighten the knob, as you may damage the shell.
- Finally, try moving your helmet around while it’s on your head to ensure it doesn’t shift position due to looseness or tightness.
Following these simple steps, you can safely and effectively adjust your welding helmet band to fit your head size and keep you comfortable while working.
Read More: How to Lighten a Welding Helmet?
Troubleshooting Common Welding Helmet Band Issues
1. Troubleshooting Common Welding Helmet Band Issues:
A welding helmet is crucial equipment that protects the user from harmful radiation, sparks, and debris.
However, a poorly fitting helmet can result in discomfort and even safety hazards. In this section, we’ll look at the most common welding helmet band issues and how to troubleshoot them.
2. Uneven Pressure On The Forehead And Cheek:
Uneven pressure on the forehead and cheek can cause discomfort, leading to fatigue and tension headaches. Here are some ways to address this issue:
- Adjust the straps: Loosen or tighten the straps to distribute the helmet’s weight evenly.
- Pad the helmet: Use foam pads to create a comfortable and even fit.
- Try a new band: If adjusting the straps and padding doesn’t help, consider purchasing a new band that evenly distributes the force of the helmet.
3. Helmet Slipping Backward Or Forward:
A helmet that slips can compromise protection, causing accidents and injuries. Here are some ways to address this issue:
- Adjust the strap tension: Tighten or loosen the straps to get the proper grip so the helmet stays.
- Clean the contact points: Dirt and grease can cause slippage. Wipe down the contact points of the helmet and your head with a damp cloth to remove any dirt or grease.
- Check the band adjustment: A poorly adjusted band can cause the helmet to shift. Ensure that the band is appropriately adjusted to your head size.
4. Uncomfortable Helmet Fit:
An uncomfortable helmet can be distracting and make it tough to focus on the task. Here are some ways to address this issue:
- Adjust the pads: Some helmets come with pads that can be repositioned to create a better fit. Experiment with different pad positions to find the most comfortable fit.
- Purchase a new band: If the helmet doesn’t come with adjustable pads, consider purchasing a new band that suits your head size and shape better.
- Modify the helmet: If all else fails, modify the helmet by cutting out portions of the foam or adding padding to create a comfortable fit.
5. Difficulty Hearing Or Seeing While Wearing The Helmet:
A welding helmet shouldn’t compromise visibility or hearing. Here are a few things to address this issue:
- Adjust the helmet position: Position the helmet in a way that doesn’t block your view or hearing instead of wearing it too low or too high.
- Use a flip-up lens: Consider purchasing a helmet with a flip-up lens to make it easier to see what’s happening and communicate with others.
- Use hearing protection: Wear earmuffs or earplugs to reduce noise levels while still ensuring you can hear what’s happening around you.
Following these tips, you can troubleshoot common welding helmet band issues and ensure comfort, protection, and focus while working.
Read More: How to Add Lights to a Welding Helmet?
Bonus Tips For Proper Maintenance And Care Of Welding Helmet
Welding helmets are essential safety gear for welders. Proper maintenance and care of these helmets are necessary to maximize their lifespan and keep the welder safe during working hours. Here are some tips for maintaining and caring for welding helmets:
1. Cleaning The Lens And The Helmet Regularly
- Use a soft cloth to clean the welding helmet and its lens daily or after every use.
- Ensure the lens is free from residue and debris that may obstruct your view while welding.
- Try using a mild detergent solution to clean the lens for stubborn stains.
- Avoid harsh chemicals as they may damage the lens and the helmet shell.
2. Inspection Of Helmets For Any Defects Or Damage
- Before every use, inspect your helmet for cracks, dents, and other visible defects.
- Always inspect the welding lens for any cracks or scratches that may impair your vision during welding.
- Ensure that all moving parts, such as the headgear and visor, operate smoothly and are in good condition.
3. Replacing Old Or Worn-Out Parts Of The Helmet
- Replace worn-out helmets or parts such as headgear, sweatbands, filter plates, and auto-darkening lenses.
- Check the manufacturer’s instructions for recommended replacement schedules and procedures.
- Regularly replace the batteries in auto-darkening lenses as they may lose effectiveness over time.
4. Proper Storage Of Helmets When Not In Use
- Store your welding helmet in a clean, dry, and cool area.
- Avoid exposing the helmet to direct sunlight, moisture, or extreme temperatures.
- Use helmet bags or cases to protect the helmet from dust, debris, and scratches.
Proper maintenance and care of welding helmets are crucial to their longevity and the welder’s safety. Regular cleaning, inspection, and replacement of old or worn-out parts and proper storage will ensure that your welding helmet lasts for a long time.
Read More: How to Change Lens in Welding Helmet?
Frequently Asked Questions For How To Put Band In Welding Helmet
How Do You Change A Welding Helmet Band?
Remove the old band and insert a new one to change the welding helmet band.
What Is The Purpose Of A Welding Helmet Band?
Welding helmet band helps to secure the helmet on the wearer’s head.
What Are The Different Types Of Welding Helmet Bands?
Different types of welding helmet bands include ratchet, clip-on and elastic.
How Often Should You Replace Your Welding Helmet Band?
Replace the welding helmet band when it becomes worn or damaged.
Can You Wash A Welding Helmet Band?
You can wash a welding helmet band in cold water with mild detergent.
Final Remarks
In welding, one of the most essential safety equipment you’ll use is your welding helmet. And to keep it in place, you must adequately put a band in your welding helmet.
Following the steps outlined in this article, ensure that the band is secure, comfortable, and fits snugly around your head.
Remember to loosen the band before wearing the helmet and tighten it again afterwards. Also, ensure the band is tight enough and loose, as this can prevent the helmet from functioning correctly.
With these tips, you can put the band in your welding helmet quickly and safely. And by doing so, you’ll be well on your way to becoming a more efficient and effective welder.

Hey, I’m Hrithik Hossain. I am the head of helmethacks.com, which specializes in safety helmets. I am looking to connect with anyone interested in purchasing a helmet or who has any questions about different types of helmets. I have over 8 years of experience as a helmet expert, and I can’t wait to help you find the perfect helmet for you. I can help you with any questions regarding helmets, from the best brands to fitting, style, and more! I really enjoy keeping people safe by ensuring they have the best protection possible.


