How to Put a Welding Helmet Together? A Step-by-Step Guide
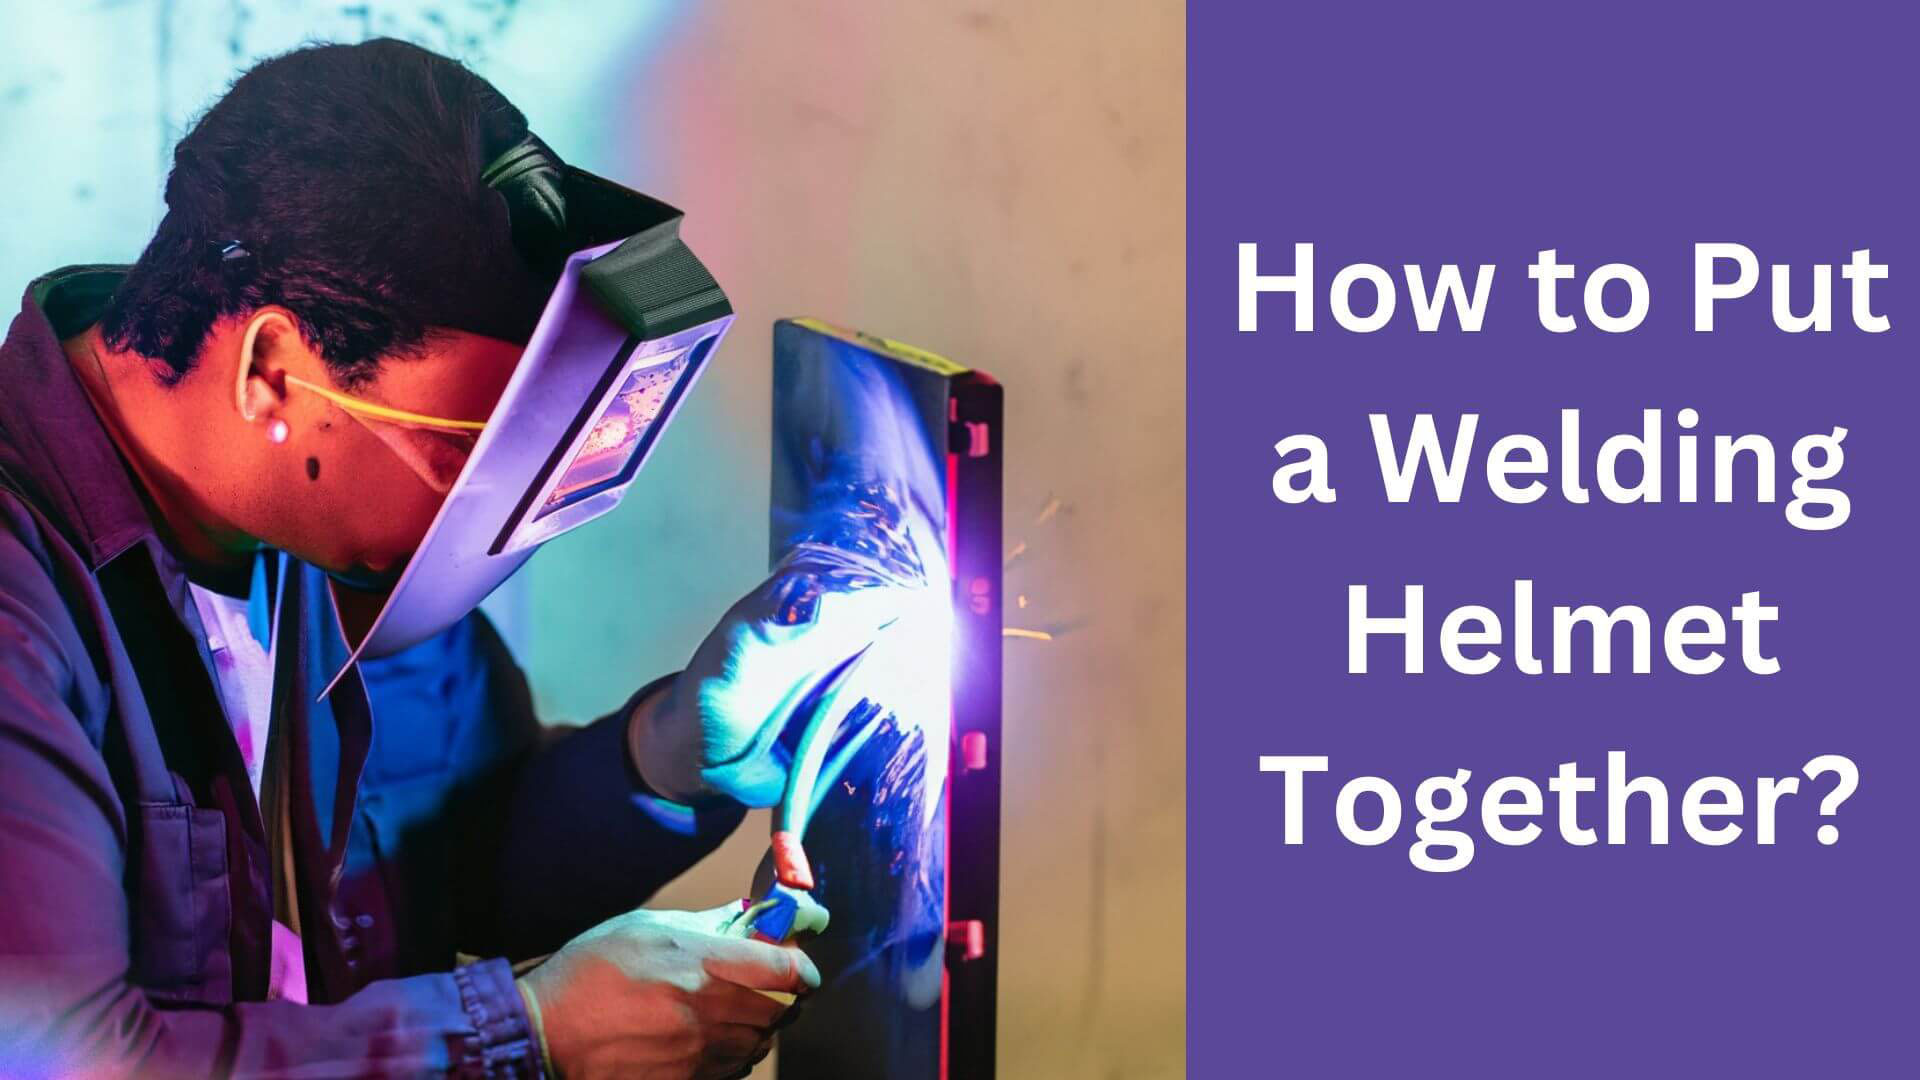
Are you a beginner in welding? Do you want to know how to put a welding helmet together? If yes, then you’re in the right place.
Putting a welding helmet together involves attaching the headgear and lens assembly to the helmet. First, adjust the headgear to fit comfortably on your head, then secure it to the helmet.
Next, attach the lens assembly to the helmet using the appropriate screws or clips. With some welding helmets, you may need to connect the lens assembly to the headgear before connecting it to the helmet.
However, assembling a welding helmet can be overwhelming, especially if you are new to welding. But don’t worry!
In this article, I will guide you through the step-by-step process of putting a welding helmet together. So, whether you’re a professional welder or a beginner, keep reading to learn how to assemble your welding helmet like a pro.
Understanding The Basics Of Your Welding Helmet Components
Welding helmets are essential safety gear for welders. The helmet protects the welder’s face and eyes from welding light and flying debris.
If you are a newbie welder, you must understand the different parts of a welding helmet and how to assemble them.
I’ll discuss the basics of welding helmet components and their functions to help you learn how to assemble a welding helmet.
Explaining The Different Parts Of The Welding Helmet
Before starting, it’s crucial to learn about the different parts of a welding helmet. Here are the three primary components of the welding helmet:
- Shell: The outer protective covering of the helmet protects the welder’s face, head, and neck.
- Lens: A clear or shaded eye lens protects the welder’s eyes from the welding arc’s harmful light.
- Headgear: The internal framework ensures the helmet sits appropriately on the welder’s head and provides proper support.
Understanding The Function Of Each Component
Each component of the welding helmet has a specific function. Be sure to understand them before attempting to assemble the helmet.
1. The Shell
The following are the functions of the shell:
- Protects the welder’s face, head, and neck from direct exposure to arc light, flying debris, and sparks generated during welding.
- Maintains the proper distance between the welder’s face and the eye lens.
2. The Lens
A lens’s primary function is to protect the welder’s eyes from the bright light produced during welding. Here are some parts of the lens:
- Protects the welder’s eyes by blocking harmful ultraviolet and infrared radiation.
- Provides clear visibility of the welding area to the welder, enabling them to weld accurately.
3. The Headgear
The headgear is responsible for fitting the helmet to the welder’s head and maintaining stability. Its functions include:
- Provides additional support and a comfortable fit for the helmet on the welder’s head.
- Allows for easy and quick adjustments according to the welder’s head size.
- It helps to distribute the helmet’s weight evenly across the head to prevent pressure points and discomfort during prolonged use.
Wrapping up, to assemble a welding helmet, you must understand the different parts of the helmet and how they function.
By comprehending the functions of the shell, lens, and headgear, you’ll be able to assemble the helmet correctly and ensure your safety while welding.
Read More: How to Change Batteries in a Welding Helmet?
Step-By-Step Guide To Putting Your Welding Helmet Together
Here are the essential steps for assembling your welding helmet quickly and precisely in this step-by-step guide.
Step 1: Preparing Your Welding Helmet Components
Before putting your welding helmet together, ensure all components are clean and debris-free. The features include the helmet shell, lens, headgear, and decals. Follow these steps to prepare your welding helmet components:
- Clean the helmet shell with a damp cloth and let it dry completely
- Inspect the lens for scratches or cracks; if present, replace the lens.
- Clean the lens with lens cleaner and a microfiber cloth.
- Check the headgear for missing or broken parts; order replacements if necessary.
- Ensure that the helmet decals are suitable for your environment
Step 2: Attaching The Lens To The Helmet
The lens is a crucial component of your welding helmet. You need to attach it securely to the helmet shell. Follow these easy steps to secure the lens to the helmet:
- Place the lens onto the lens holder, ensuring that it fits correctly.
- Align the lens holder with the four holders on the helmet shell.
- Twist the holder clockwise to secure it in place.
- Check that the lens is secure and adjust it if necessary.
Step 3: Installing The Headgear
The headgear keeps the helmet firmly on your head, allowing you to adjust its position. You need to install the headgear correctly to ensure maximum protection and comfort. Follow these simple steps to install the headgear:
- Attach the headgear to the helmet shell.
- Place the helmet on your head and use the adjustment mechanism to achieve a snug fit.
- Ensure that the helmet is comfortable and does not wobble.
Step 4: Mounting The Helmet Decals
Helmet decals are a great way to customize your welding helmet and make it easily identifiable. Follow these steps to mount the helmet decals:
- Decide where you want to place the decals on your helmet.
- Peel off the backing paper from the decals.
- Carefully place the decals onto the helmet shell.
- Rub the decals with a squeegee or your finger to remove air bubbles.
Step 5: Confirming That All Components Are Properly Fitted
Before using your welding helmet, ensure all components are correctly fitted. Follow these steps to confirm that all parts are precisely included:
- Put on the helmet and adjust it for a comfortable fit.
- Check that the lens is secure and does not move.
- Ensure that the headgear is functioning correctly and keeping the helmet in place.
- Verify that the decals are firmly attached and not peeling or falling off.
That’s it! You are now ready to safely and securely assemble your helmet and start welding like a pro.
Always follow proper safety guidelines and equipment maintenance procedures for optimal performance and safety.
Read More: How to Adjust Welding Helmet?
4 Bonus Tips For Adjusting Your Welding Helmet!
Putting together a welding helmet is a task that should be taken seriously. One of the essential aspects of your welding helmet is its suitability to your head size and shape. An ill-fitted welding helmet might not only be uncomfortable but can also lead to a safety hazard.
Therefore, it’s crucial to adjust your welding helmet correctly. Here are some tips for adjusting your welding helmet to ensure your safety and comfort:
1. Adjusting The Headgear For A Comfortable Fit
- Loosen the headgear of the helmet before wearing it.
- Adjust the headgear to fit your head size and shape.
- Tighten the headgear to hold the helmet securely in place.
- Make sure the helmet is in the correct position, where it covers your entire head and stays in place
2. Cleaning The Helmet, Lens, And Headgear
- After each use, clean the welding helmet with a soft cloth to remove any dirt or debris.
- Clean the welding helmet lens with a lens cleaning solution and a microfiber cloth to prevent scratches and ensure clarity.
- It would help if you cleaned the headgear periodically to increase its longevity and hygiene.
- Avoid using harsh chemicals to clean your helmet, as these can damage the material.
3. Replacing The Lens When It Becomes Damaged
- If you notice any damage to the lens, replace it immediately to prevent any potential safety hazards.
- Remove the lens from the helmet by following the manufacturer’s instructions.
- Purchase a replacement lens that is suitable for your helmet.
- Install the new lens carefully, ensuring it is not scratched or damaged during the replacement process.
4. Inspecting For Helmet Damage Before Use
- Before each use, inspect your welding helmet for any damage or wear and tear.
- Check the helmet’s shell for cracks or dents that could compromise its durability.
- Inspect the lens to ensure no scratches or cracks could impair your vision during welding.
- If you notice any damage or wear and tear, replace the helmet or have it repaired by a professional.
Adjusting and maintaining your welding helmet is crucial for your safety and comfort as a welder.
Following these tips, ensure your welding helmet is appropriately adjusted, cleaned, and inspected before use.
Remember that a well-maintained welding helmet will last longer and protect your eyes and face from harmful welding fumes and radiation. So, take the necessary steps to care for your welding helmet, and it will take care of you.
Read More: How to Add Lights to a Welding Helmet?
Common Welding Helmet Problems And How To Fix Them
If you’re new to welding, putting a welding helmet together might seem a little daunting, but don’t worry, it’s not as difficult as it might seem.
However, even if you are an experienced welder, you may occasionally need help with common welding helmet problems.
1. Helmet Body Cracks And Damages
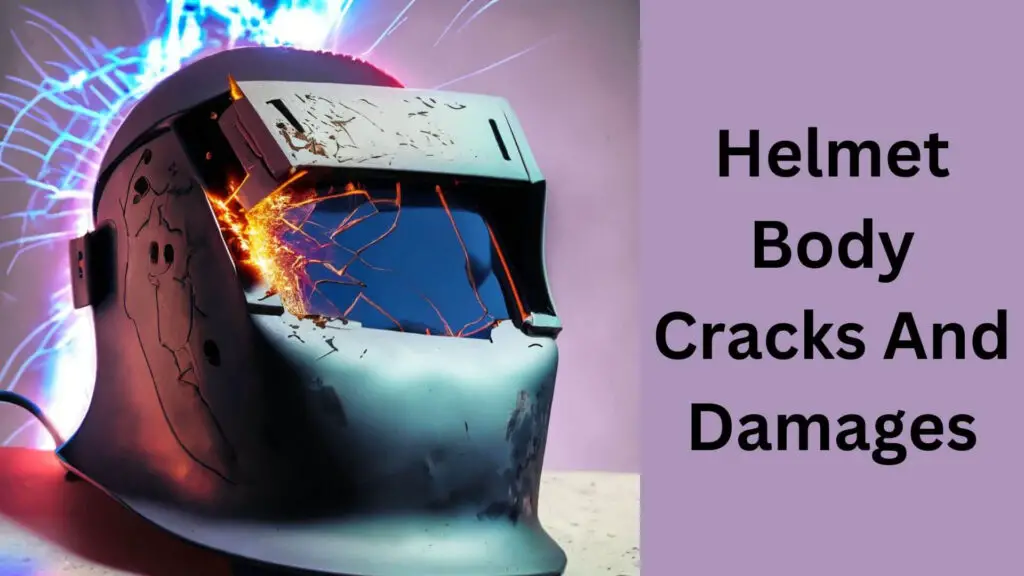
No matter how sturdy your welding helmet is, it’s still susceptible to cracks and damage over time. This can be caused by anything from dropping it to hitting it with a heavy object. Here are some tips to fix this issue:
- If there’s only a minor crack, you can patch it using a heat-resistant sealant.
- If the damage is severe, you must replace the helmet’s body.
2. Lens Scratch Or Fogging Issues
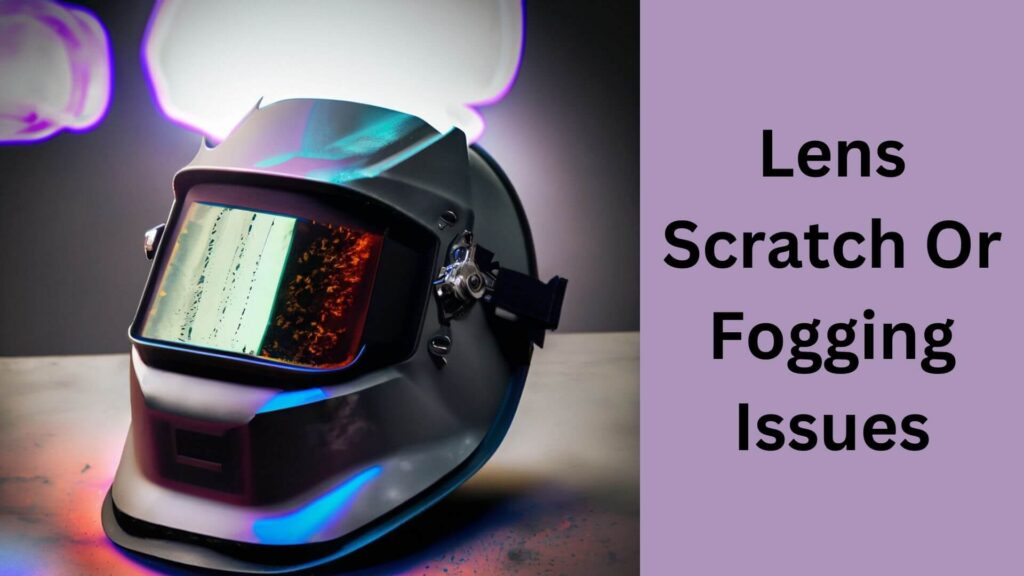
Scratches and foggy lenses on welding helmets can be frustrating and impact your welding visibility. Here’s what you can do:
- If the lens is only slightly foggy, you can take a clean cloth and wipe it down with a lens cleaner.
- If there are scratches on the lens, you’ll need to replace it.
Read More: How to Keep Welding Helmet from Fogging?
3. Headgear Misalignment Or Damage
Another area that you may need help with your welding helmet is headgear misalignment or damage. This often happens if you’ve had your helmet for a while and have been using it regularly. Here’s what you can do:
- If the misalignment is minor, you can adjust the headgear straps to fit your head better.
- If the headgear is damaged, you’ll need to replace it.
4. Electrical And Electronic Malfunctions
Finally, electrical and electronic malfunctions can also occur with your welding helmet. These can be caused by anything from a faulty battery to a malfunctioning switch. Here’s what you can do:
- If the issue is with the battery, replace it with a new one.
- If the switch is the problem, you’ll need to replace it.
By following these tips, you can fix most of the issues you encounter with your welding helmet, allowing you to weld more efficiently and safely.
Read More: How to Put Band in Welding Helmet?
Frequently Asked Questions For How To Put A Welding Helmet Together
How Do You Assemble A Welding Helmet?
Attach the headgear to the shell to assemble a welding helmet and install the auto-darkening filter or lens.
What Is An Auto-Darkening Welding Helmet?
An auto-darkening welding helmet is designed to protect your eyes from UV/IR light using light sensors and LCD technology.
How Do You Adjust A Welding Helmet?
To adjust a welding helmet, adjust the headgear for a secure and comfortable fit and change the auto-darkening filter sensitivity to the light.
What Should You Look For In A Welding Helmet?
When selecting a welding helmet, look for auto-darkening, react time, viewing area, weight, and comfort options.
How Often Should You Replace A Welding Helmet?
Replace your welding helmet, including the auto-darkening filter, every three years or sooner if it becomes damaged or worn.
Last Fate
Putting a welding helmet together is easy; follow the steps outlined in this guide. As you can see, it’s essential to ensure each part is correctly in place to give the perfect protection needed while welding. After assembling it, test the helmet for lens clarity, proper fit, and functionality.
Wearing a welding helmet is critical to your safety while welding, so keep it maintained properly by keeping it clean and stored in a cool, dry place. Following this guide, your welding helmet will be assembled and ready to use.
Safe welding!

Hey, I’m Hrithik Hossain. I am the head of helmethacks.com, which specializes in safety helmets. I am looking to connect with anyone interested in purchasing a helmet or who has any questions about different types of helmets. I have over 8 years of experience as a helmet expert, and I can’t wait to help you find the perfect helmet for you. I can help you with any questions regarding helmets, from the best brands to fitting, style, and more! I really enjoy keeping people safe by ensuring they have the best protection possible.


