How to Paint Your Mountain Bike Helmet?
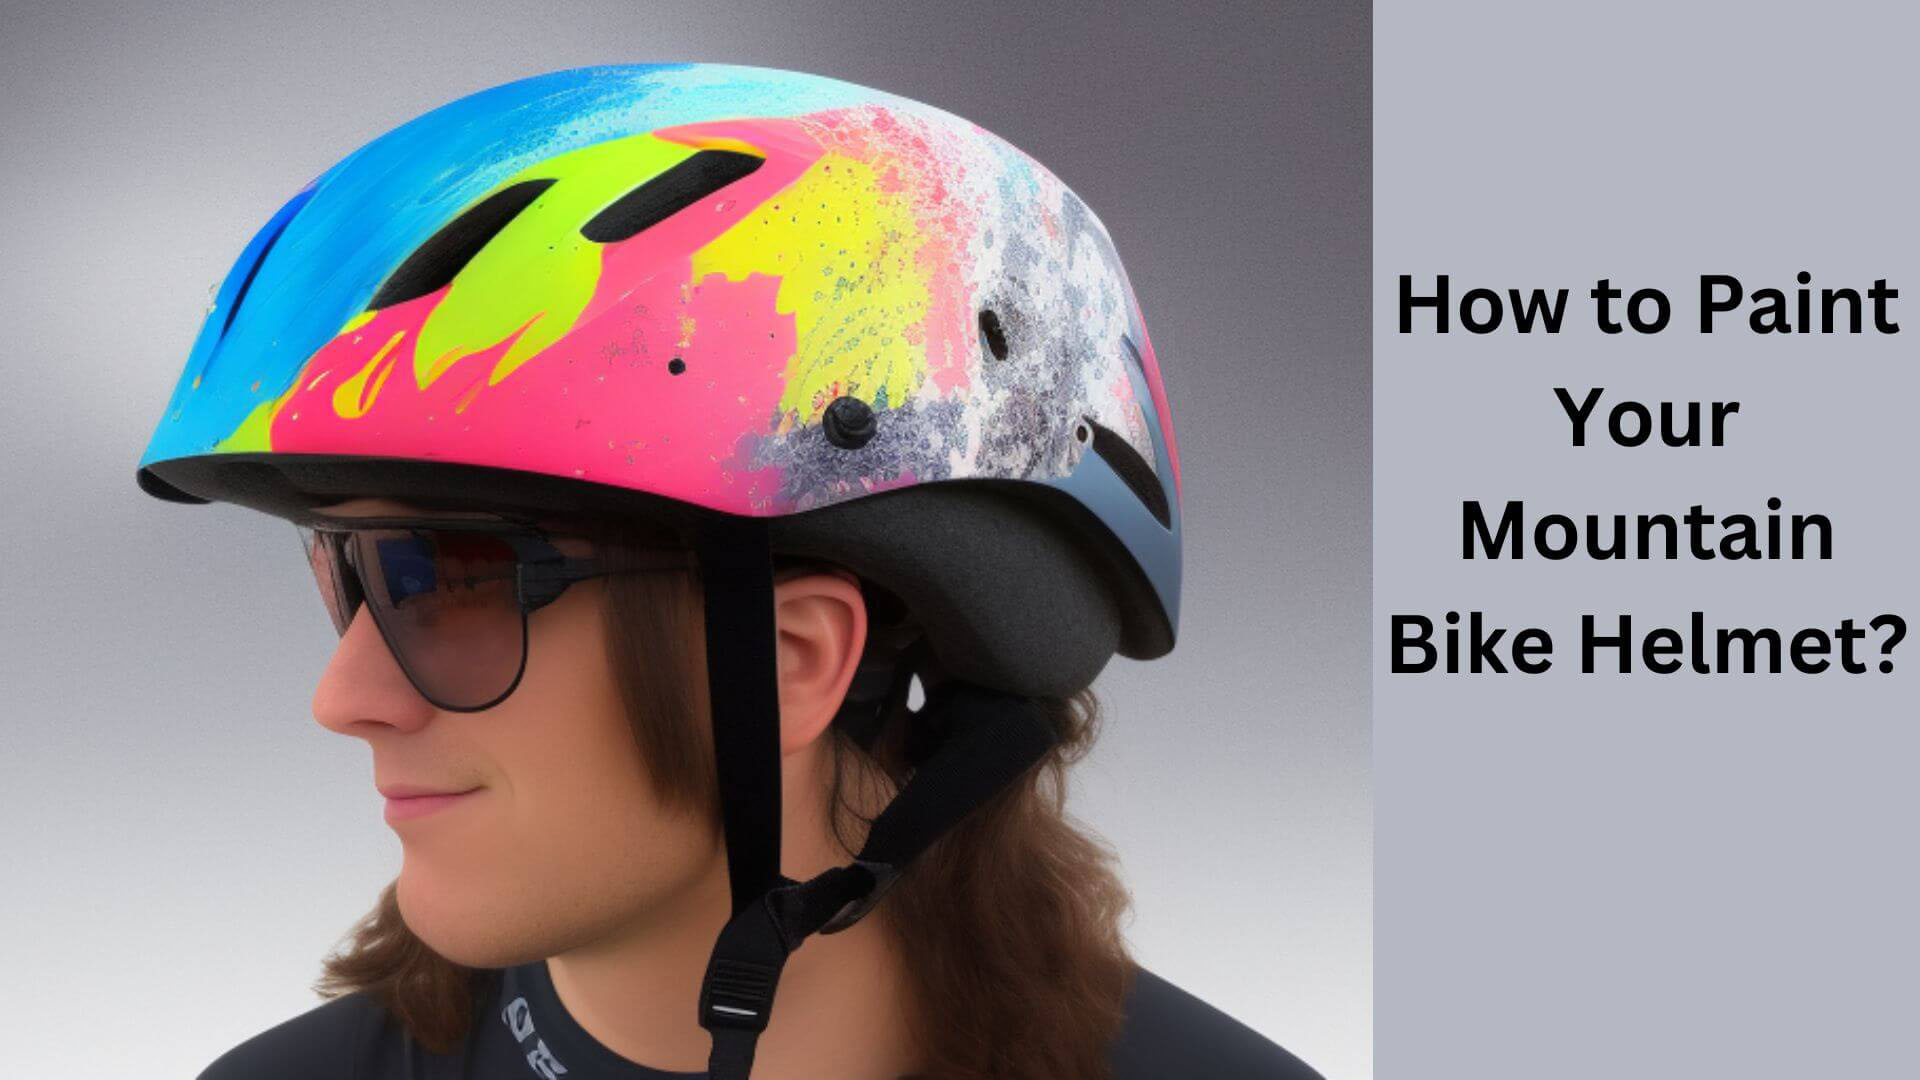
If you are a mountain bike enthusiast, you might want to customize your helmet to match your style and personality.
Painting your helmet is a fun and creative way to do that, but it also requires some preparation and skills.
In this article, I will show you how to paint a mountain bike helmet, making it look brand new and giving it a personalized touch.
I’ll also cover everything from choosing the right paint to properly preparing the helmet surface, so you can achieve an eye-catching finish that will make you stand out on the trails. Read on to learn more!
Tools and Materials Required
Before we dive into the process of painting your helmet, let’s look at the tools and materials you will require:
- A mountain bike helmet.
- Fine-grit sandpaper (320 or 400 grit).
- A clean rag.
- Primer (for plastic).
- Spray paint (for plastic).
- Masking tape.
- A well-ventilated area.
- Disposable gloves.
- Safety glasses.
Check Also: Ride in Style, Ride with Confidence: Discover the Best Affordable Mountain Bike Helmet!
Step-by-Step Guide to Paint Your Mountain Bike Helmet
Here is a detailed step-by-step guide to help you paint your mountain bike helmet:
Step 1: Preparing the Helmet
The first step is to prepare your helmet. Remove any removable parts, such as the visor, padding, and straps.
Clean the helmet thoroughly with soap and water, and let it dry completely. Once dry, lightly sand the helmet using fine-grit sandpaper. Wipe the helmet with a clean rag to remove any debris or dust.
Step 2: Applying the Primer
Apply a thin layer of plastic primer on the helmet. Hold the can about 6-8 inches away from the helmet and spray sweepingly.
Avoid over-spraying as it can lead to dripping and pooling of the primer. Let the primer dry for at least 30 minutes before proceeding to the next step.
Step 3: Applying the Base Coat
Once the primer is dry, apply the base coat of spray paint. Hold the can as far as before and spray in a sweeping motion.
Apply light, even coats of paint, and let each coat dry for 10-15 minutes before applying the next. Repeat this process until you get the desired coverage and color.
Step 4: Applying the Design
After the base coat is dry, you can start applying the design. Use masking tape to cover the areas you want to protect from paint.
You can create your design or use a stencil. Hold the can at the same distance and spray in a sweeping motion.
Apply light, even coats of paint, and let each coat dry for 10-15 minutes before applying the next. Do this again and again until you get the result you want.
Step 5: Applying the Top Coat
Once the design is dry, apply a clear top coat to protect the paint and give the helmet a glossy finish. Hold the can as far as before and spray in a sweeping motion.
Apply light, even coats of paint, and let each coat dry for 10-15 minutes before applying the next. Repeat this process until you get the desired effect.
Step 6: Reassembling the Helmet
After the top coat is dry, remove the masking tape and reassemble the helmet. Reattach the visor, padding, and straps.
Congratulations, you have successfully painted your mountain bike helmet!
Read More: Mounting a GoPro on Your Mountain Bike Helmet: A Step-by-Step Guide
What is the Best Paint for a Mountain Bike Helmet?

When painting a mountain bike helmet, it’s important to use paint specifically designed for use on helmets.
Look for a paint that is non-toxic, durable, and can withstand impacts. Two popular options are Krylon Fusion for Plastic and Rust-Oleum Universal All Surface Spray Paint.
These paints are designed for plastic and other surfaces and have good durability.
However, it’s important to note that painting a helmet may void its warranty and compromise its safety features, so proceed cautiously.
Check Also: Best Women’s Mountain Bike Helmets for a Perfect Blend of Fashion and Protection.
How Many Coats of Paint Should I Apply to the Helmet?
The number of coats of paint you should apply to a helmet depends on several factors, such as the type of paint you are using, the color you are applying, and the desired finish.
However, as a general rule, applying at least two to three thin coats of paint is recommended, allowing each coat to dry completely before applying the next one.
Applying thin coats helps to avoid drips and ensures even coverage. Additionally, it’s crucial to follow the paint manufacturer’s instructions and recommendations for drying times and application techniques to achieve the best results.
Read More: The Lightest Mountain Bike Helmet: Unveiling the Featherweight Champion
How Long Should I Wait Between Coats of Paint?
The recommended waiting time between coats of paint depends on your paint type and the environmental conditions.
However, as a general rule, waiting at least 24 hours before applying the next coat of paint is best.
This allows the previous coat to dry and cure properly, ensuring that the new skin adheres properly and doesn’t cause any damage or smudging.
If you’re using a fast-drying paint, you may be able to apply the next coat sooner, but it’s always best to follow the manufacturer’s instructions.
Applying too many coats or not allowing enough drying time between coats can result in drips, bubbles, and an uneven finish.
Read More: Exploring the Purpose of Visors on Mountain Bike Helmets: Benefits and Usage
What is the Best Way to Apply a Clear Coat to the Painted Helmet?
When applying a clear coat to a painted helmet, following the manufacturer’s instructions and recommendations for the specific product you’re using is essential. However, here are some general tips to help you achieve the best results:
- Ensure the painted surface is clean and free of dust, debris, and fingerprints before applying the clear coat. You can use a clean, dry cloth to wipe the surface or a gentle cleaner designed for helmet surfaces.
- Shake the clear coat can well before use and test the spray on a small, inconspicuous area to make sure it sprays evenly.
- Apply a thin, even coat of clear coat to the helmet surface, holding the can around 8-10 inches away from the surface. Avoid spraying too much or too close to the surface to avoid drips and bubbles.
- Allow the clear coat to dry for the recommended time listed on the can, usually around 24 hours, before handling the helmet or applying another coat.
- Repeat the process with additional coats of clear coat, if desired, waiting for each coat to dry completely before applying the next one.
- Once the final coat has dried completely, inspect the helmet surface for any imperfections, such as bubbles or areas of uneven coverage. If necessary, you can sand and polish the surface to achieve a smooth, glossy finish.
Always work in a well-ventilated area and wear protective gear, such as gloves and a mask, when spraying paint or a clear coat.
Read More: Light Up Your Path: Explore the Best Helmet Lights for Mountain Biking
How Long Should I Wait Before Using My Newly Painted Helmet?
The waiting time before using a newly painted helmet depends on the type of paint and clear coat you use and the environmental conditions.
However, as a general rule, it’s best to wait at least 24 to 48 hours after the final clear coat has been applied and fully cured before using the helmet.
This allows the paint and clear coat to harden and adhere appropriately to the helmet surface, ensuring the paint won’t peel or crack when exposed to vibrations or impacts.
It’s also essential to avoid exposing the helmet to extreme heat, cold, or humidity during the curing process, as this can affect the paint’s durability and longevity.
Tips for Painting Your Mountain Bike Helmet
- Choose a well-ventilated area to paint your helmet.
- Wear disposable gloves and safety glasses to protect your hands and eyes.
- Use a plastic primer and spray paint for plastic surfaces to ensure adhesion and durability.
- Apply thin, even coats of paint, and let each coat dry completely before adding the next.
- Do not rush the process. Take your time and follow the steps carefully for the best results.
Are there any Safety Precautions I Should Take When Painting My Helmet?
Yes, there are several safety precautions you should take when painting your helmet to ensure your health and safety:
1. Work in a well-ventilated area: Painting can release harmful fumes and particles that can be dangerous if inhaled. Make sure you work in a well-ventilated area, such as outdoors or in a well-ventilated room with open windows and a fan.
2. Wear protective gear: Wear protective equipment such as gloves, a mask, and goggles to protect yourself from inhaling fumes, getting paint on your skin, and getting paint in your eyes.
3. Follow the manufacturer’s instructions: Always read and follow the manufacturer’s instructions and warnings on the paint and clear coat you are using.
4. Don’t paint over stickers or labels: Avoid smudging over any stickers, tags, or manufacturer information on your helmet, as this could compromise the helmet’s safety features.
5. Allow proper drying time: Allow adequate drying time between coats before using the helmet to ensure the paint and clear coat have fully cured and hardened.
By following these safety precautions, you can ensure a safe and successful painting project.
FAQs About How to Paint Your Mountain Bike Helmet
Can I paint any mountain bike helmet?
It is recommended to use a helmet that is made of plastic or has a plastic shell. Avoid painting helmets with foam or fabric outer layer, as the paint may not adhere correctly.
Can I use any paint for my helmet?
It is recommended to use spray paint that is specifically designed for plastic surfaces. This ensures paint adhesion and durability.
How long does it take to paint a mountain bike helmet?
The painting process can take several hours, depending on the design and number of coats required. It is essential to take your time and let each coat dry completely before applying the next.
How do I clean my painted helmet?
Clean your painted helmet with a soft cloth, mild soap, and water. Avoid using abrasive or chemical cleaners that can damage the paint.
Can I remove the paint from my helmet?
You can remove the paint from your helmet using a plastic-safe paint remover. Follow the manufacturer’s instructions carefully, and make sure to wear gloves and safety glasses.
Final Fate
Painting your mountain bike helmet is a great way to give it a personalized touch and make it stand out from the crowd. With the right tools and materials, you can quickly transform your helmet into a unique piece of art.
Follow the step-by-step guide carefully, take your time, and enjoy the process of creating your custom helmet.
Remember to prioritize safety, use a helmet designed for mountain biking, and always wear it on the trails. Happy painting!

Hey, I’m Hrithik Hossain. I am the head of helmethacks.com, which specializes in safety helmets. I am looking to connect with anyone interested in purchasing a helmet or who has any questions about different types of helmets. I have over 8 years of experience as a helmet expert, and I can’t wait to help you find the perfect helmet for you. I can help you with any questions regarding helmets, from the best brands to fitting, style, and more! I really enjoy keeping people safe by ensuring they have the best protection possible.

